Stable Diffusion - Enabling API and How to run it A Step-by-Step Guide

Bringing the latest tech to grow your business. AWS, GCP & Azure registered partner and cloud solution provider on latest tech.
Introduction
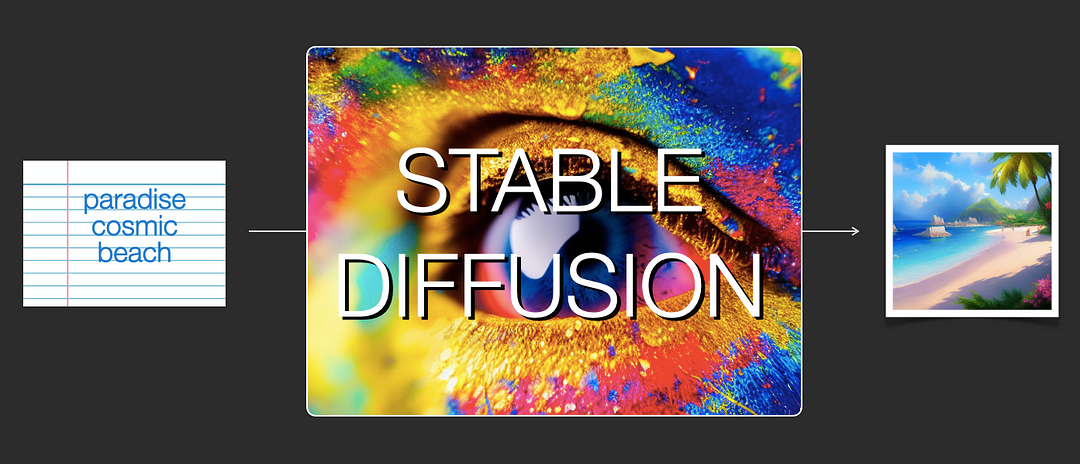
- Stable Diffusion is a cutting-edge open-source tool for generating images from text. The Stable Diffusion Web UI opens up many of these features with an API and interactive UI.
What is API?
API is the acronym for application programming interface — a software intermediary allowing two applications to talk. APIs are an accessible way to extract and share data within and across organizations.
APIs are all around us. Every time you use a rideshare app, send a mobile payment or change the thermostat temperature from your phone, you use an API.
What is Stable Diffusion?
Stable Diffusion is a deep learning-based, text-to-image model. It is primarily used to generate detailed images conditioned on text descriptions.
This Stable Diffusion model supports the ability to generate new images from scratch by using a text prompt describing elements to be included or omitted from the output.

Stable Diffusion as an API
- The web UI is meant for a single user and works great as an interactive art tool for making your own creations. However, if we want to build applications using this as the engine, we will want an API. A lesser-known (and lesser-documented) feature of the stable-diffusion-WebUI project is that it also has a built-in API. The web UI is built with Gradio but there is also a FastAPI app that can be launched with the following:
python launch.py --nowebui
- This gives us an API that exposes many of the features we had in the web UI. We can send POST requests with our prompt and parameters and receive responses that contain output images.
Using Stable Diffusion as an API
- The Stable Diffusion API is organized around REST. API has predictable resource-oriented URLs, accepts form-encoded request bodies, returns JSON-encoded responses, and uses standard HTTP response codes, authentication, and verbs. The Stable Diffusion API is used
keyto authenticate requests.
Features available in the API:
text to image
image to image
instruct pix2pix
textual inversion
inpainting
outpainting (via inpainting)
more coming soon!
Use Cases of Stable Diffusion API
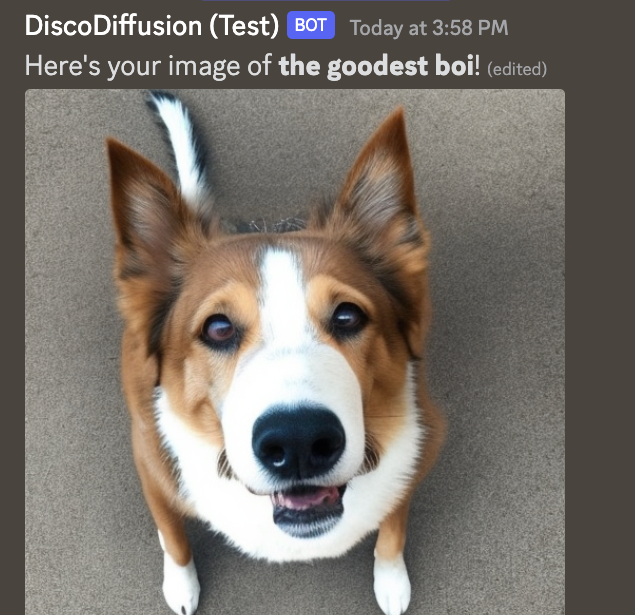
- You can Integrate Stable Diffusion API in Your Existing Apps or Software: It is Probably the easiest way to build your own Stable Diffusion API or to deploy Stable Diffusion as a Service for others to use is using diffusers API. If you want to build an Android App with Stable Diffusion or an iOS App or any web service, you’d probably prefer a Stable Diffusion API. Instead of using any 3rd party service. For Example Discord Diffusion: It is a Bot for image generation via Stable Diffusion, Discord Diffusion is a fully customizable and easy-to-install Discord bot that brings image generation via Stable Diffusion right to your Discord server. It responds to
@Bot your image promptgenerate an image. Drive engagement, have fun with your community members, and see what you can create!
You can Create a New Platform, where People can create and share the art with the Help of Stable Diffusion API. For Example, You can go through the Midjouney Platform. It is an independent research lab exploring new mediums of thought and expanding the imaginative powers of the human species.
Image recognition: Stable Diffusion API can be used to develop image recognition applications that can identify objects, people, and scenes in images. These applications can be used in a variety of industries, including healthcare, retail, and security.
- Natural language processing: Stable Diffusion API can also be used to develop natural language processing applications that can understand and respond to human language. These applications can be used in customer service, chatbots, and virtual assistants.
Demonstration of API
Prerequisites
In addition to saving time setting up an environment, the below cloud setup will also preview the flexibility of VM Configuration(CPU, GPU) and you can access the VM ware anywhere organize as per your access.
If You are Running Stable Diffusion on a VM, you need to set up a Stable Diffusion environment. If you are not familiar with setting up the environment on a VM, you can refer to our below step-by-step guides for AWS, GCP, and Azure.
For AWS,
For GCP,
For Azure.
Demonstration using the FastAPI Interface
This VM is pre-configured for Stable Diffusion with an enabled API (Application Programming Interface). To access the preinstalled APIs, follow the below steps:
First You can Copy the VM IP address, in my case, I use GCP for Demo, You can use anyone, either GCP, AWS, or Azure. This Depends on You.
- After Copying the VM IP Address paste it into any browser using the Below URL.
http://vmip/docs
For Example : http://34.170.193.166/docs
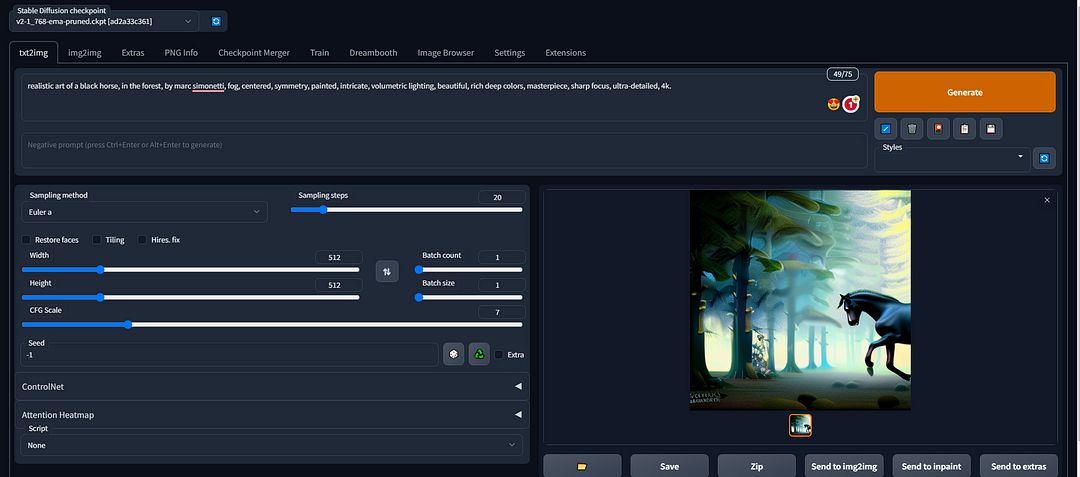
- After Pasting IP Address Click Enter, now You can show one interface like the Below Image.
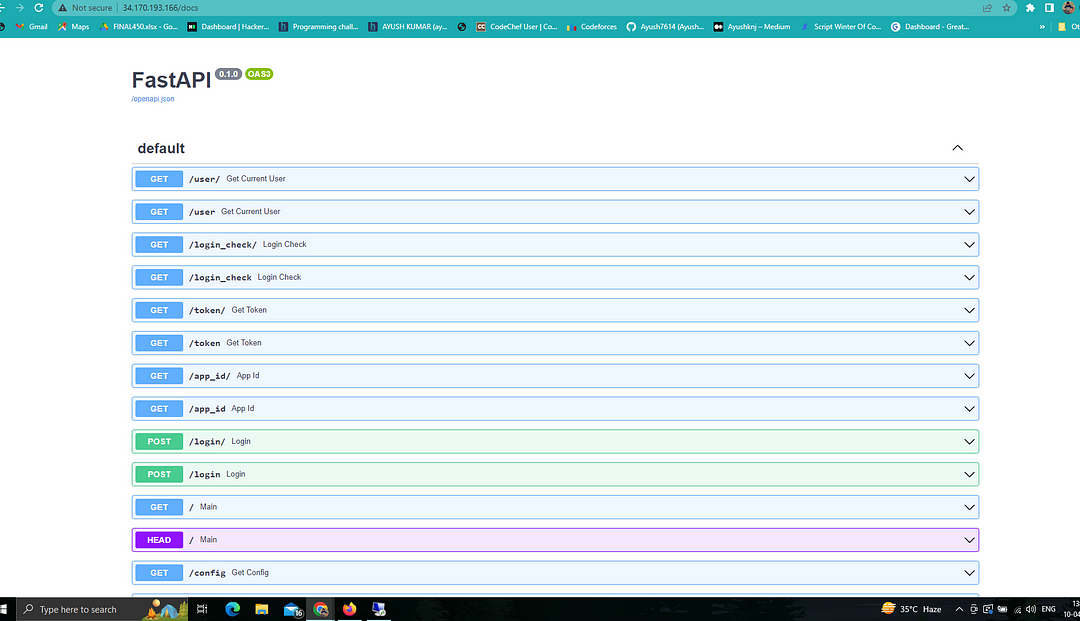
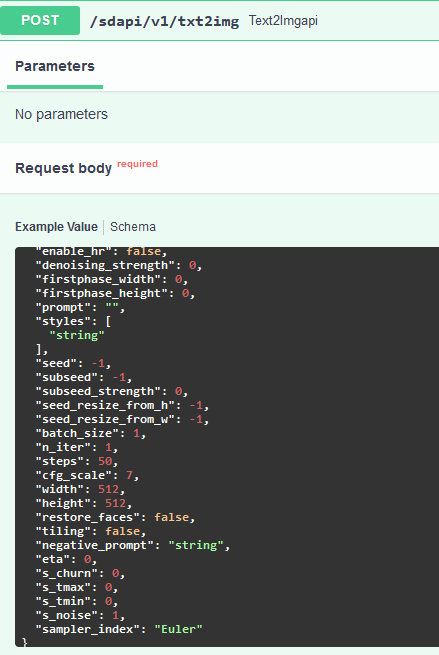
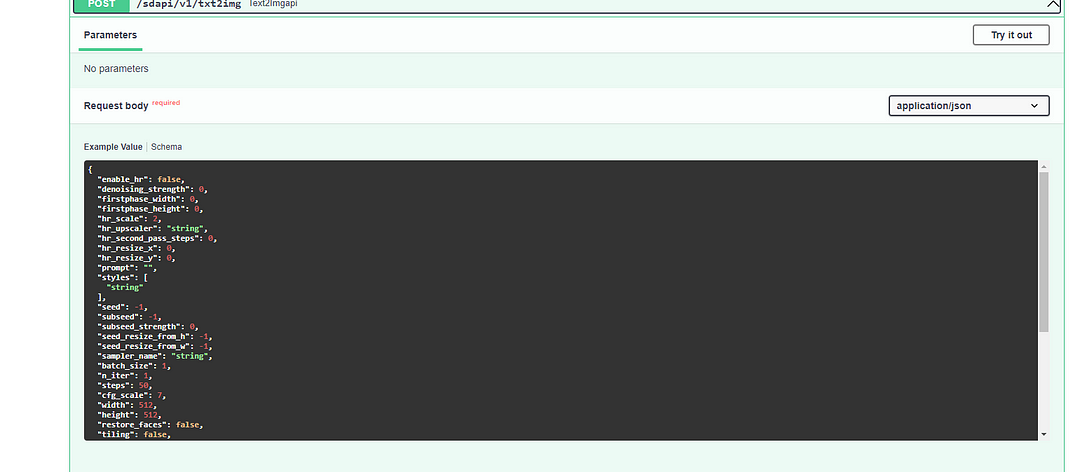
Once you open the API URL(http://vmip/docs), search for txt2img. And then click on the right arrow to expand that tab, it gives an example of a payload to send to the API. I used this often as a reference.
For the Demo, we will focus on the txt2img API.
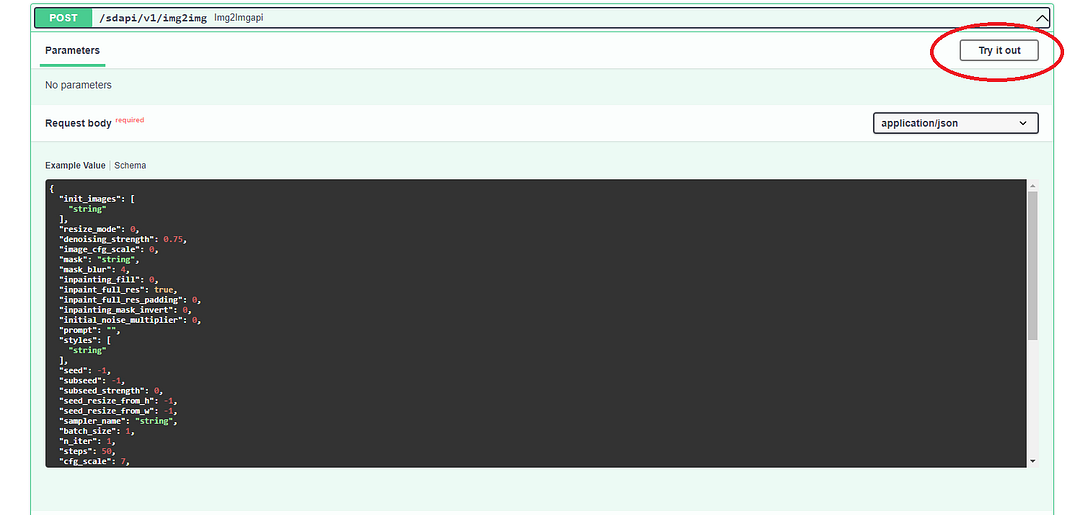
- Try anything Like img2img, or txt2img API.
- After searching for API, Click on the Try it Out Button.
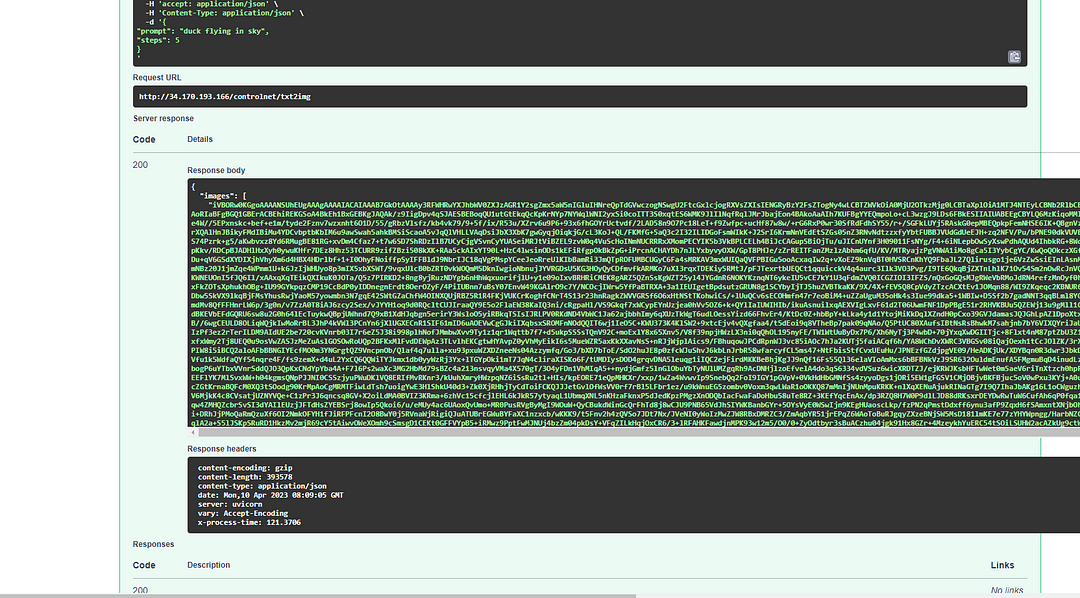
- After Clicking on the Try it Out Button, This will enable the Request Body and Execute button. Try with the below code snippet in the request body and click on Execute button.
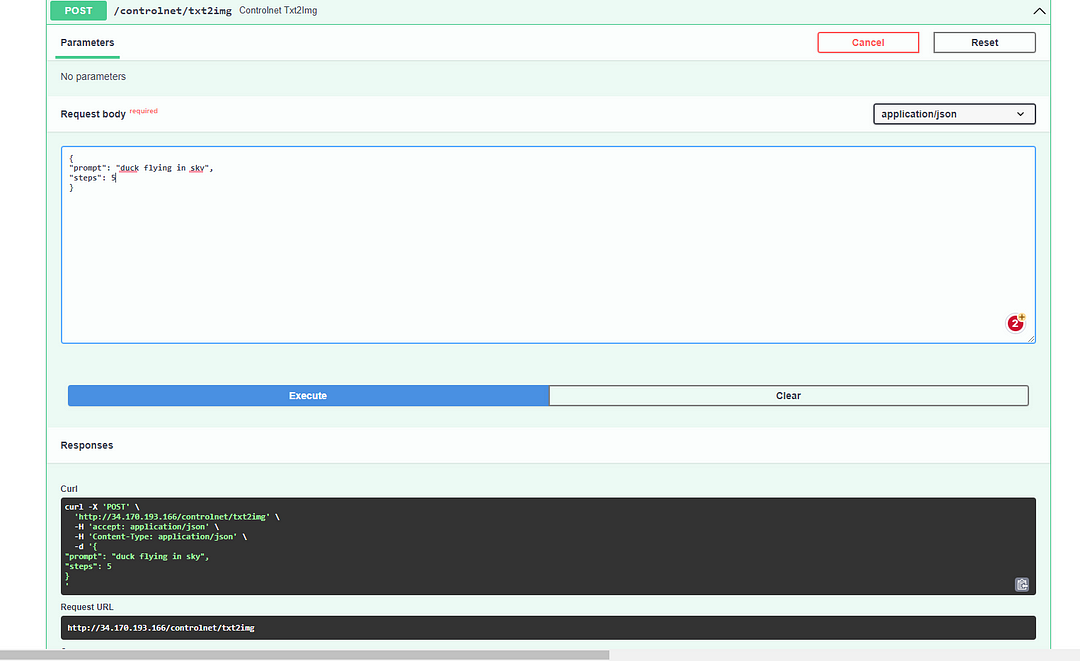
- After enabling the Request Body and Execute Button. Write the below code snippet or any snippet in the request body and click on Execute button.
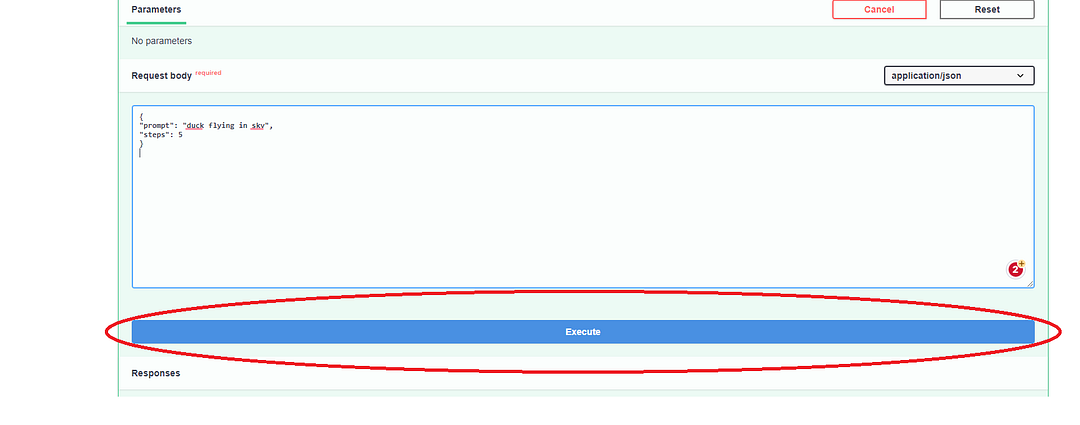
- After clicking on the Execute Button, You can observe the progress in the terminal by running-
tail -f /var/log/cloud-init-output.log
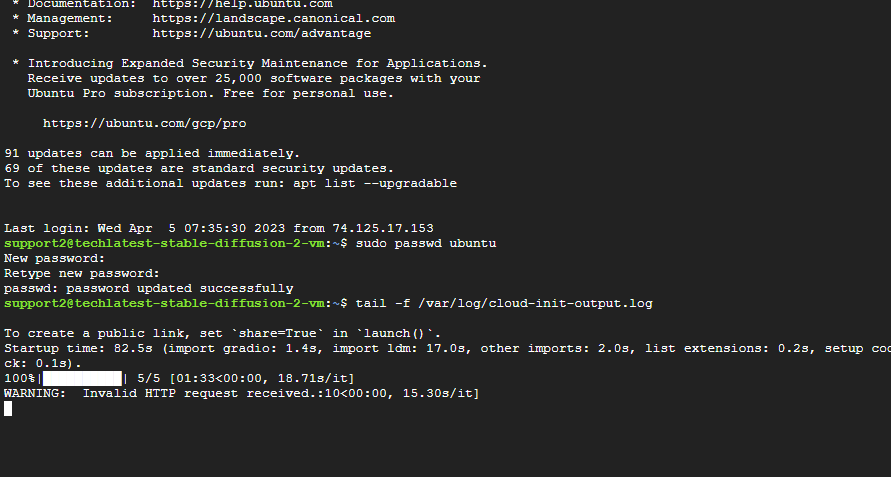
- Once image processing is complete, in the API web console, it will show “200” as the response code and the response field will have a response in JSON format with the image in the “images:” field of JSON.
- If you want to disable the API or want to make any further configuration changes then please update line 20 and line 23 of /var/lib/cloud/scripts/per-boot/sd-per-boot.sh file as per the Stable Diffusion Wiki documentation.
Demonstration using the Programming Language
In this demonstration, Python was used, however, the choice and requirement of the programming language are entirely up to you and can be selected accordingly.
To install using a programming language, you can refer to this guide.
Before beginning, ensure that you have a GPU (NVIDIA preferably but AMD is also supported) with at least 8GB of VRAM to play with on your system. That will ensure that you can load the model into memory. Next, you want to clone the repo to your system (for instance via HTTPS):
Follow the installation instructions for your system as they may be different from mine. I used an install of Windows to set this up, but it should also work on Ubuntu, Linux, and Apple. These instructions will include setting up a Python environment or whatever Programming Language You used, so make sure that whichever environment you set up is active when you launch the server later.
So that’s the backend. The API basically says what’s available, what it’s asking for, and where to send it. Now moving onto the front end, I’ll start with constructing a payload with the parameters I want. An example can be:
payload = {
    "prompt": "maltese puppy",
    "steps": 5
}
I can put in as few or as many parameters as I want in the payload. The API will use the defaults for anything I don’t set.
After that, I can invoke it to the API.
response = requests.post(url=f'http://127.0.0.1:7860/sdapi/v1/txt2img', json=payload)
Again, this URL needs to match the web UI’s URL. If we execute this code, the web UI will generate an image based on the payload. That’s great, but then what? There is no image anywhere…
After the backend does its thing, the API sends the response back in a variable that was assigned above:
response. The response contains three entries; "images", "parameters", and "info", and I have to find some way to get the information from these entries.First, I put this line
r = response.json()to make it easier to work with the response.“images” is the generated image, which is what I want most. There’s no link or anything; it’s a giant string of random characters, apparently, we have to decode it. This is how I do it:
for i in r['images']:
    image = Image.open(io.BytesIO(base64.b64decode(i.split(",",1)[0])))
With that, we have an image in the
imagethe variable that we can work with, for example, saving it withimage.save('output.png').“parameters” shows what was sent to the API, which could be useful, but what I want in this case is “info”. I use it to insert metadata into the image, so I can drop it into web UI PNG Info. For that, I can access the
/sdapi/v1/png-infoAPI. I'll need to feed the image I got above into it.
png_payload = {
        "image": "data:image/png;base64," + i
    }
    response2 = requests.post(url=f'http://127.0.0.1:7860/sdapi/v1/png-info', json=png_payload)
After that, I can get the information with
response2.json().get("info")A sample code that should work can look like this:
import json
import requests
import io
import base64
from PIL import Image, PngImagePlugin
url = "http://127.0.0.1:7860"
payload = {
    "prompt": "puppy dog",
    "steps": 5
}
response = requests.post(url=f'{url}/sdapi/v1/txt2img', json=payload)
r = response.json()
for i in r['images']:
    image = Image.open(io.BytesIO(base64.b64decode(i.split(",",1)[0])))
    png_payload = {
        "image": "data:image/png;base64," + i
    }
    response2 = requests.post(url=f'{url}/sdapi/v1/png-info', json=png_payload)
    pnginfo = PngImagePlugin.PngInfo()
    pnginfo.add_text("parameters", response2.json().get("info"))
    image.save('output.png', pnginfo=pnginfo)
Import the things I need
to define the URL and the payload to send
send the payload to said URL through the API
in a loop grab “images” and decode it
for each image, send it to png info API and get that info back
define a plugin to add png info, then add the png info I defined into it
at the end here, save the image with the png info.
Conclusion
In conclusion, this step-by-step guide provides a comprehensive understanding of how to enable the Stable Diffusion API and how to run it. By following the instructions mentioned in this article, users can set up and configure the Stable Diffusion API on their local systems or servers.