R Development Using Jupyter for Multiuser Environment

Bringing the latest tech to grow your business. AWS, GCP & Azure registered partner and cloud solution provider on latest tech.
Introduction
R is a programming language and software environment commonly used for statistical computing, data analysis, and graphical representation. It was created by Ross Ihaka and Robert Gentleman at the University of Auckland, New Zealand in the early 1990s. R provides a wide range of statistical and graphical techniques, making it a powerful tool for data manipulation, exploration, visualization, and modeling.
Key features of R include:
1. Data manipulation: R offers a variety of functions and packages for manipulating and transforming data. It provides tools for importing data from various sources, cleaning and pre-processing data, merging datasets, and handling missing values.
2. Statistical analysis: R is particularly known for its extensive collection of statistical functions and packages. It supports a wide range of statistical techniques, including descriptive statistics, hypothesis testing, regression analysis, time series analysis, clustering, and more.
3. Data visualization: R provides rich capabilities for creating high-quality visualizations. It offers several packages, such as ggplot2 and lattice, which allow users to generate a wide array of graphs and charts to explore and present data effectively.
4. Extensibility: R is an open-source language, which means that users can contribute to its development by creating and sharing packages. The R package ecosystem is vast and diverse, covering various domains and extending the functionality of R. Users can easily install and utilize these packages to expand the capabilities of the language.
5. Reproducible research: R facilitates reproducible research by providing tools for documenting and sharing code and results. R Markdown, for example, allows users to combine text, code, and visualizations in a single document, making it easier to create reports, articles, and presentations that can be fully reproducible.
R is widely used in academia, industry, and research fields, especially in data analysis, statistics, bioinformatics, finance, and social sciences. It has a large and active community of users who contribute to the development of packages and provide support through forums and online resources.
R development using Jupyter for a multiuser environment
R development using Jupyter for a multiuser environment is a powerful and cost-effective solution for businesses and research organizations. It allows multiple users to access and use the same R environment on a single virtual machine, reducing the need to subscribe to multiple VMs and enabling efficient collaboration. Using Jupyter provides a user-friendly interface for R development, which facilitates data analysis and visualization.
In the multiuser environment, Jupyterhub is used to manage and spawn multiple instances of the single-user Jupyter Notebook server. Each user has a separate R environment, including R-Studio, Jupyter Notebook, and a GUI desktop. By using Jupyterhub, access to the R environment can be easily shared across teams or an entire organization, enabling seamless collaboration. This setup is especially useful for corporate data science groups or scientific research groups where multiple individuals need to access and manipulate data using R.
Prerequisites
Before doing all the below steps, you can setup a VM for the R development Environment, If you are looking to quickly set up and explore R Dev Environment using Jupyter, Techlatest.net provides out-of-the-box setup for R Development Using Jupyter for Multiuser Environment on AWS, Azure and GCP. Please follow the below links for the step-by-step guide to set up an R Development Environment on your choice of the cloud platform.
Step by Step Guide on R Development Using Jupyter for Multiuser Environment
- Step 1
Once You set up the VM using GCP, AWS or Azure. Then the VM is up and running.
- Step 2
On the instance page, click on the “SSH” button, select “Open in browser window”.
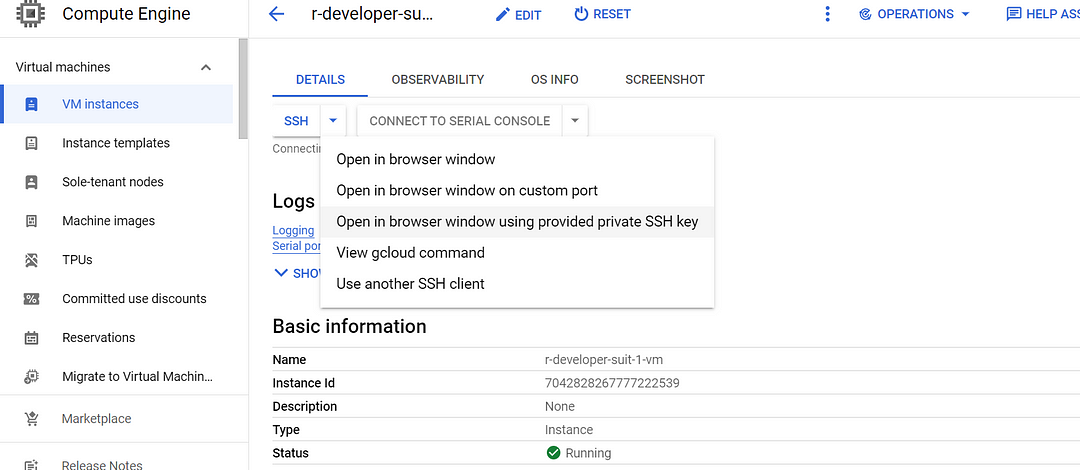
- Step 3
This will open SSH window in a browser.
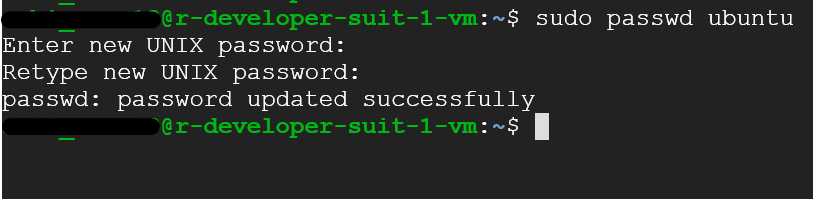
- Step 4
Run below command to set the password for “ubuntu” user.
sudo passwd ubuntu
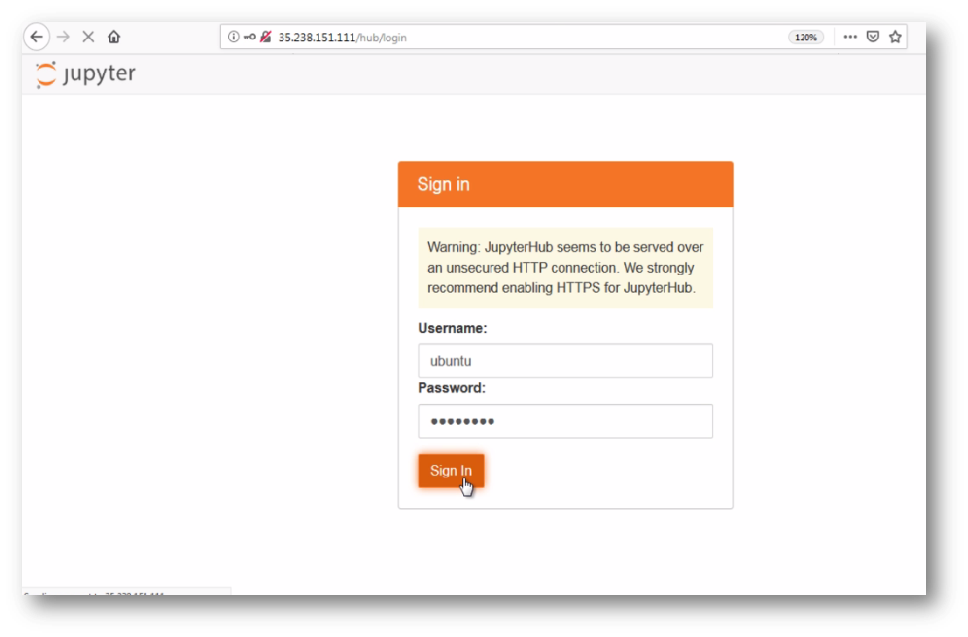
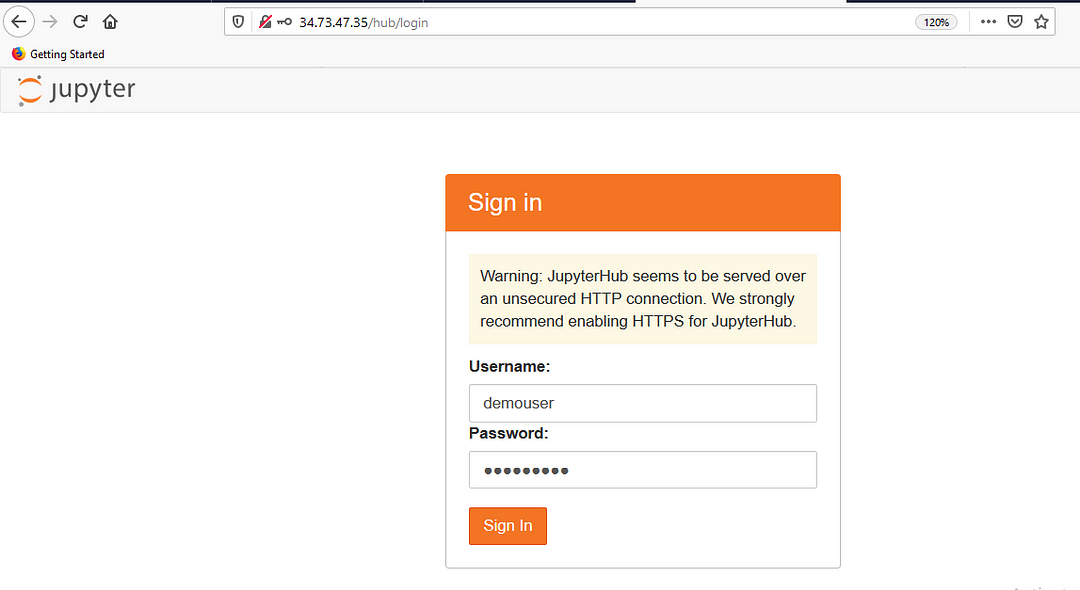
- Step 5
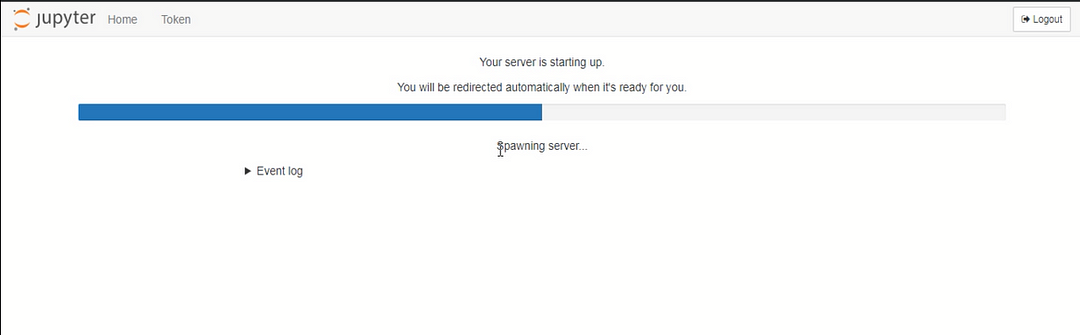
To access jupyter go to http://VM_Public_IP . Login using ubuntu user and provide password set in the above step.
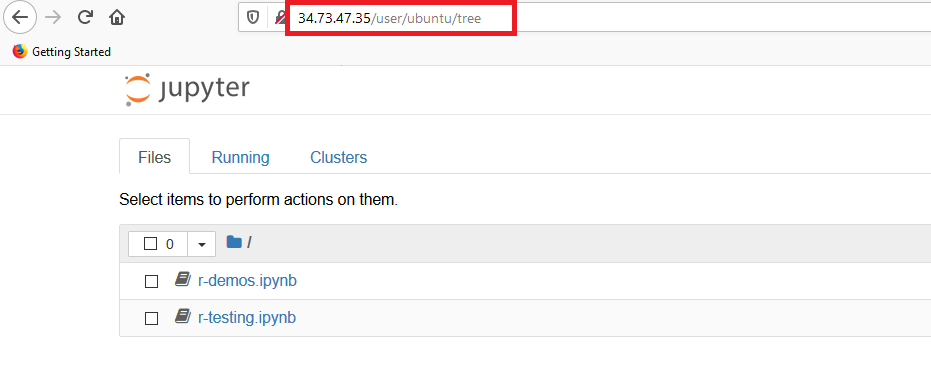
- Step 6
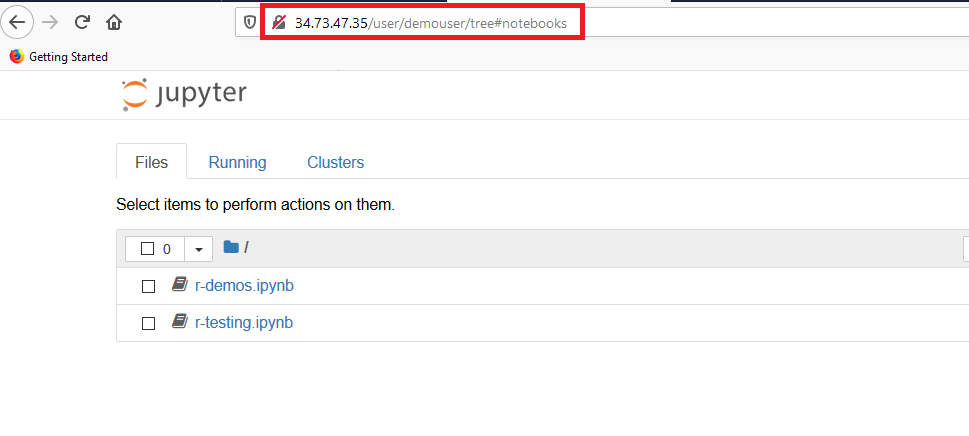
This will log you as an ubuntu user to the jupyter notebook.
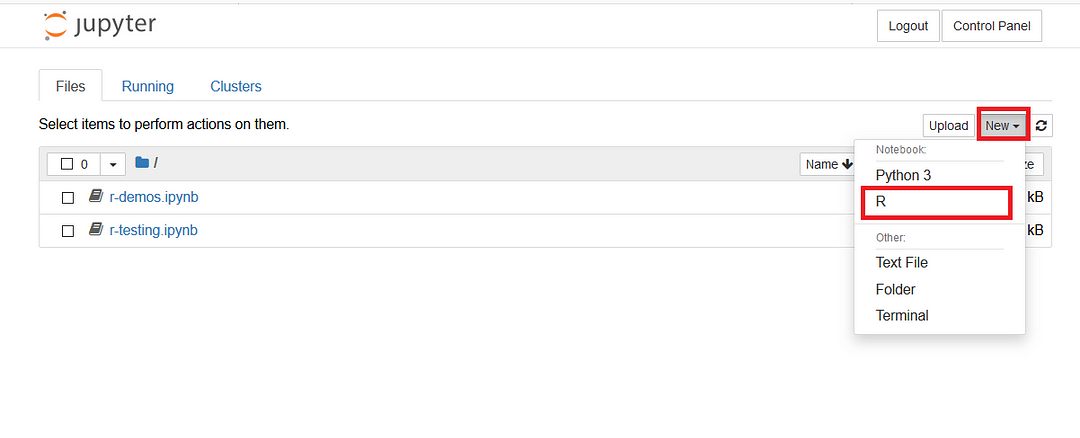
- Step 7
You can create new R Notebooks and run your code. To create new Notebook, click on New and select R from dropdown menu.
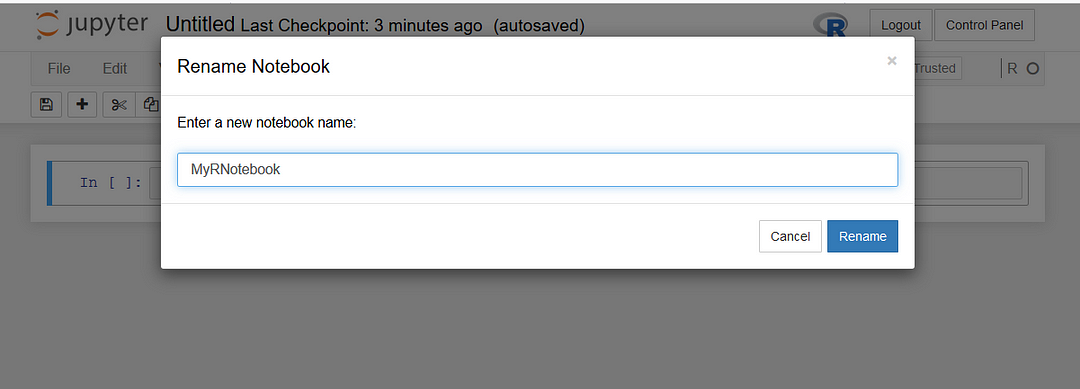
- Step 8
It will create untitled Notebook in new tab. Click on Untitled to rename this Notebook.
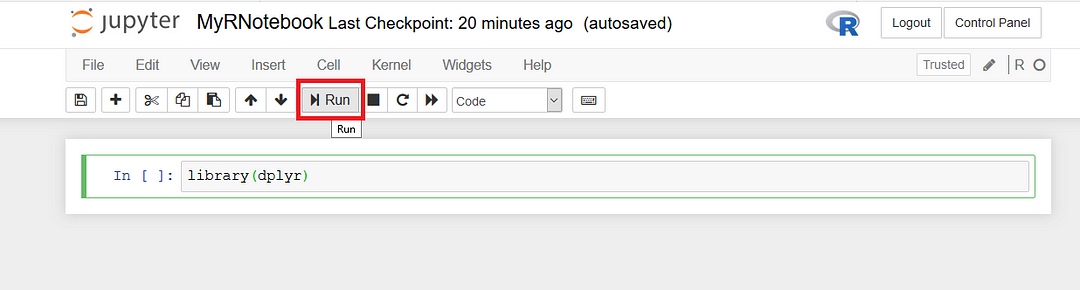
- Step 9
Write your code in the cell. To run the code, select the cell then select Run or use the keyboard shortcut CTRL+ENTR.
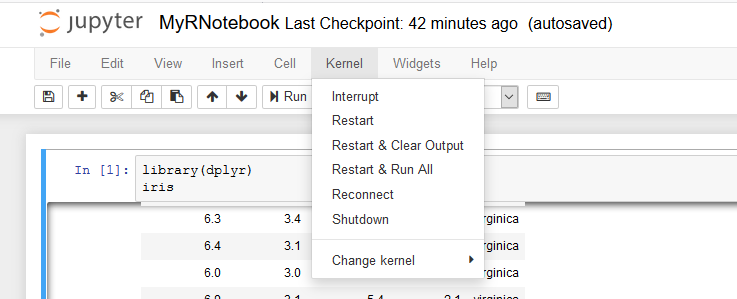
- Step 10
Let’s display iris table with the library(dplyr).

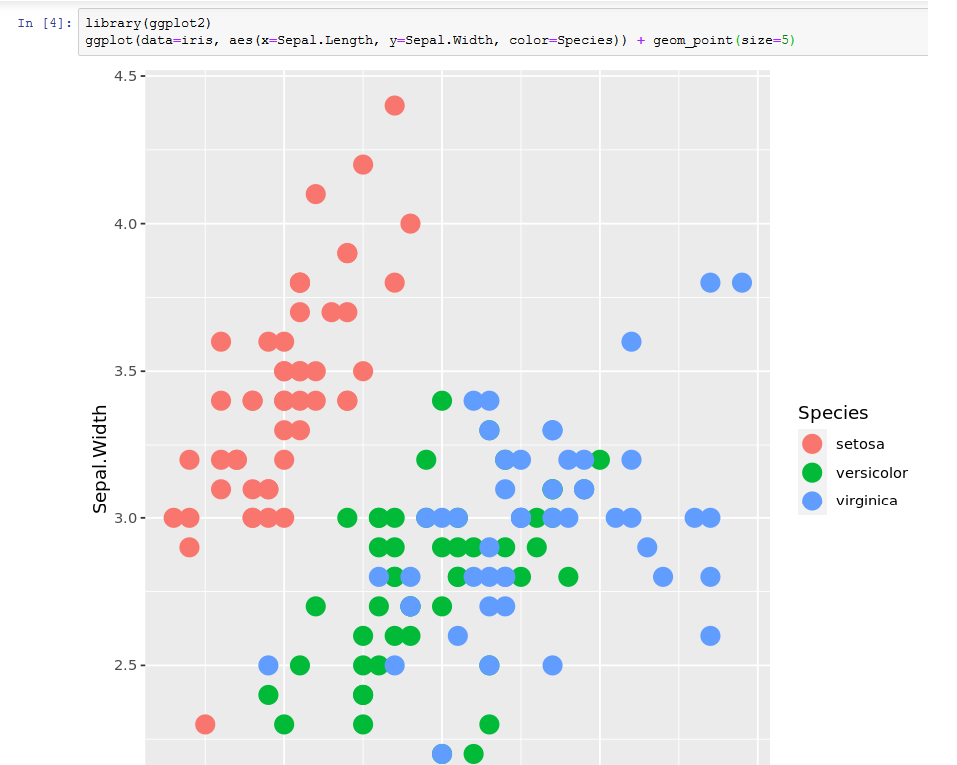
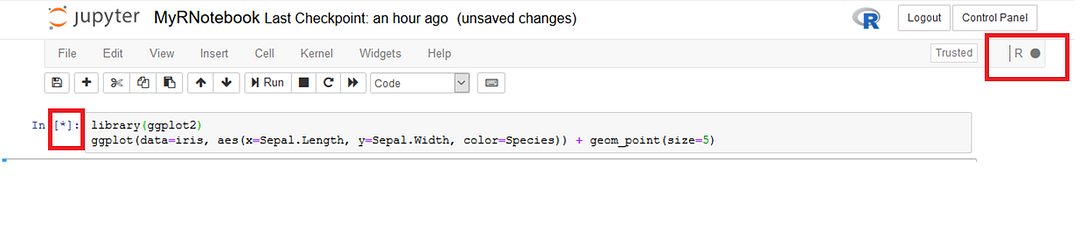
- Step 11
We can create scatter plot using ggplot2 library.
- Step 12
You have different option to stop, restart, run all, shutdown kernel in the kernel dropdown menu.
- Step 13
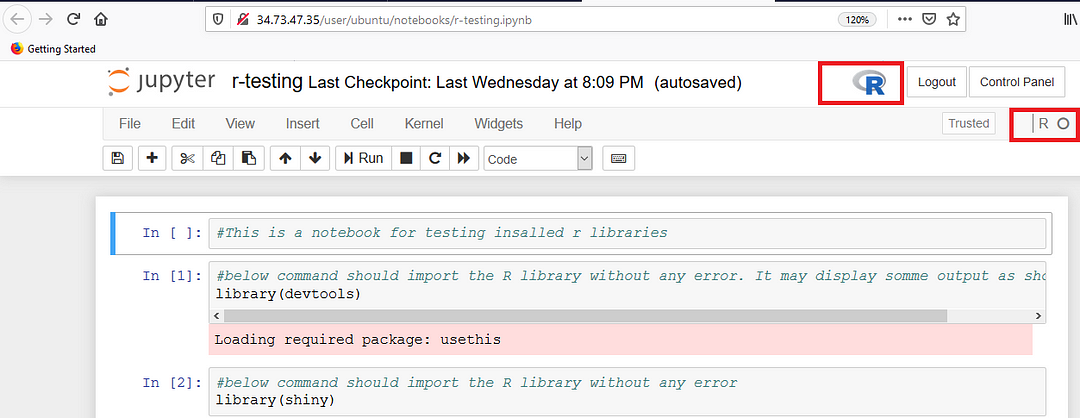
asterisk (*) in any cell shows that cell is running. Solid circle next to R shows that kernel is busy.
- Step 14
This VM comes with Jupyter with R-Kernel which provides a browser based IDE with the ability to create and share R based notebooks.
- Step 15
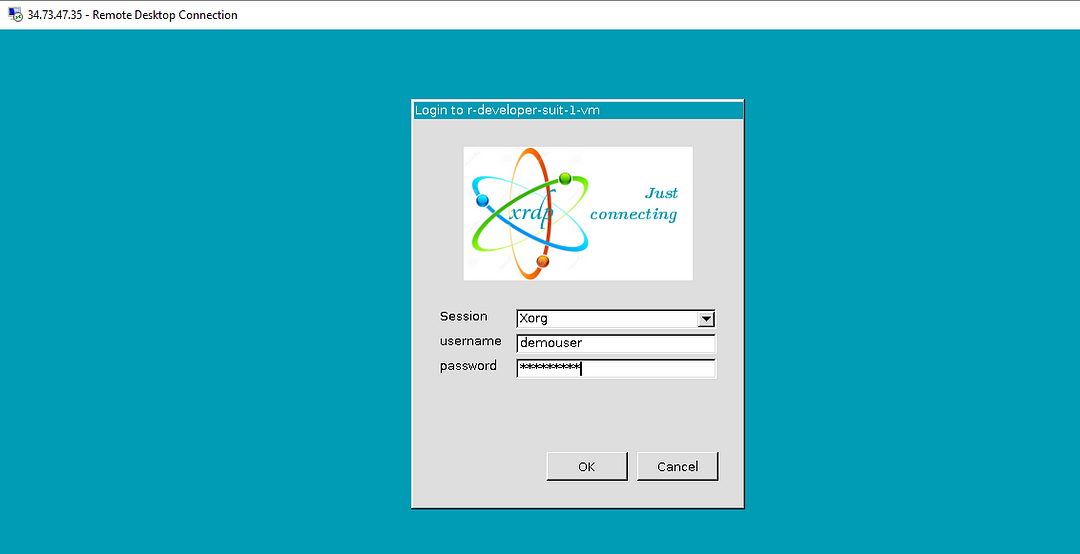
Create new user and login with the that user.
- Step 16
To add new user, RDP to your VM, open terminal and enter below command.
sudo adduser "username"
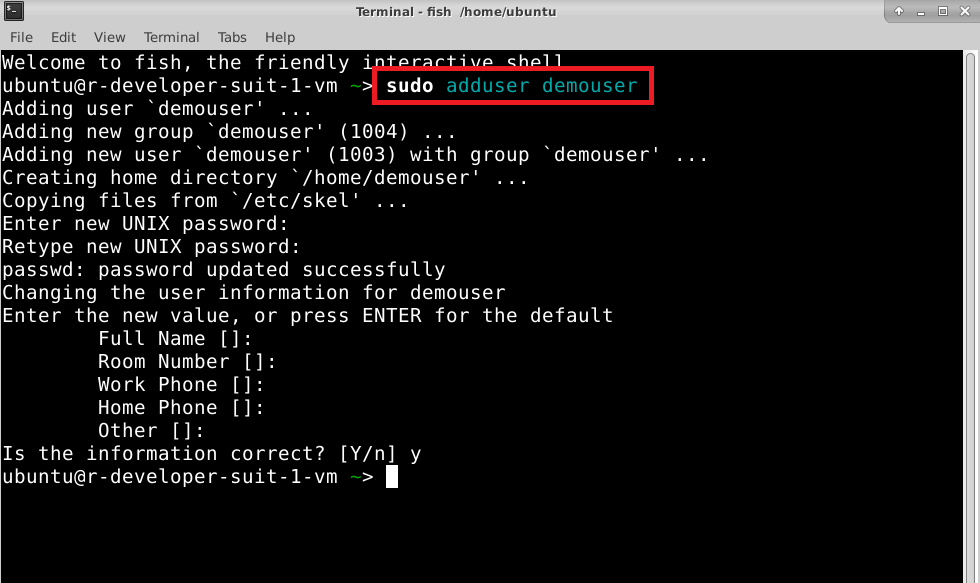
- Step 17
This will create the new user. Fullsetup is copied into the home directory of new user.
Each added user will get a separate R environment with R-Studio, Jupyter Notebook and GUI desktop.
- Step 18
Login to Jupyter with a new user.
- Step 19
New server will spawn for this user which will have completely seperate python/jupyter environment from ubuntu user.
- Step 20
This is a new user homepage.
- Step 21
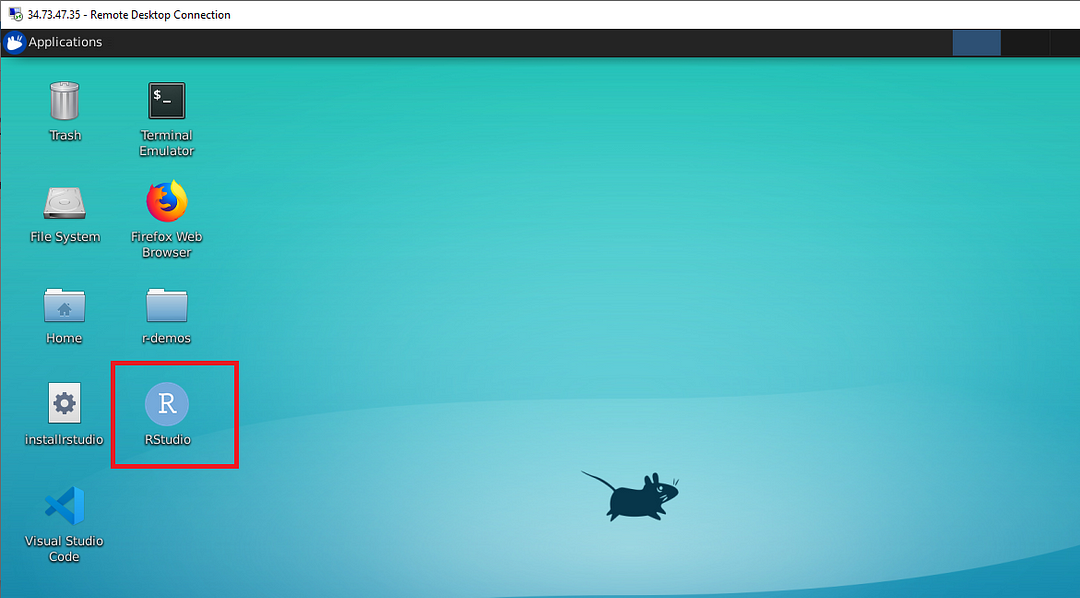
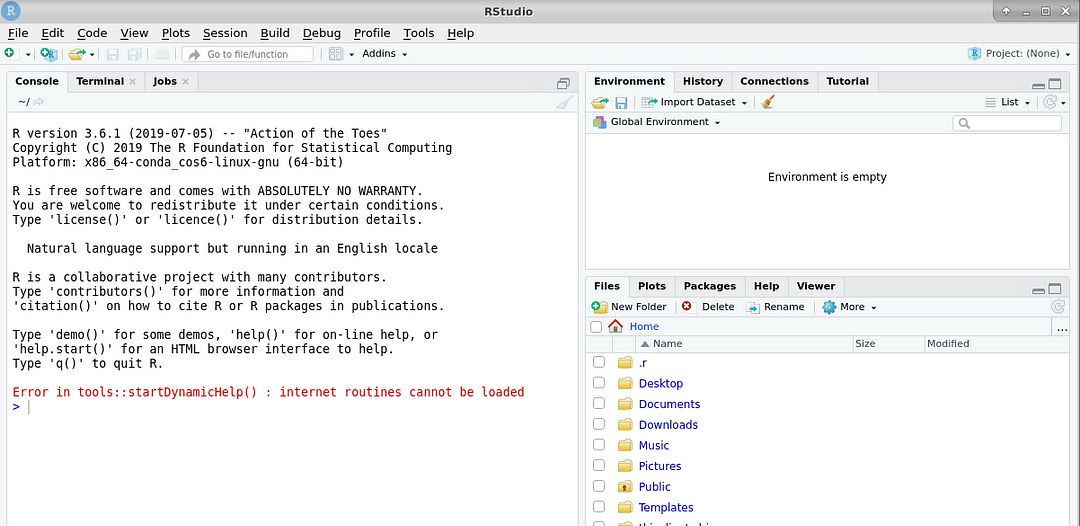
R environment with R-Studio is created on the desktop for new users. RDP to your VM and login with the new user created in step 17.
- Step 22
This way Jupyterhub is used to create a Jupyter/python environment for multiple users. Instead of subscribing to multiple VMs, one can subscribe to a single VM and create multiple users to use the notebook.
It can be used in classes of students, a corporate data science group or a scientific research group.
It is a multi-user Hub that spawns, manages, and proxies multiple instances of the single-user Jupyter Notebook server.
Conclusion
This blog provides a step-by-step guide on how to use Jupyter Notebook with R-Kernel on a VM using GCP (Google Cloud Platform), AWS or Azure. It explains how to set up a password for the ‘ubuntu’ user, log in to the Jupyter notebook using the browser with the ‘ubuntu’ user, create a new R Notebook, write code in cells, display iris table with dplyr library and create a scatter plot using ggplot2 library, stop, restart, and shutdown the kernel in the kernel dropdown menu, create a new user with a separate Jupyter environment, and log in to the Jupyter notebook with the newly created user. This guide can be helpful for anyone who wants to use Jupyter with R-Kernel on a VM for data analysis, machine learning, and research purposes.


