How to Setup Stable Diffusion With AUTOMATIC1111 Web Interface On GCP (Google Cloud Platform)
How to Setup Stable Diffusion With AUTOMATIC1111 Web Interface On GCP (Google Cloud Platform)

Bringing the latest tech to grow your business. AWS, GCP & Azure registered partner and cloud solution provider on latest tech.
Introduction
Machine learning and AI-based generative models have recently gained significant attention. These models enable the creation of images and text outputs based on a prompt input, offering a wide range of applications across various industries.
Stable Diffusion is a type of generative model that has recently gained traction due to its effectiveness and accuracy in generating high-quality images.
In this article, we will provide an overview of Stable Diffusion, and guide you on how to install, set up, and run it on Google Cloud (GCP) in just a few minutes. By utilizing the pre-configured virtual machine provided by Techlatest.net on the GCP Marketplace, you can easily access and utilize Stable Diffusion for your specific use case.
In this article, we will introduce four topics
Stable Diffusion — Stable Diffusion is a deep learning, text-to-image model released in 2022.
AUTOMATIC1111 Web Interface — A browser interface based on the Gradio library for Stable Diffusion.
GCP(Google Cloud Platform) — Google Cloud Platform (GCP) is a suite of cloud computing services offered by Google.
Step by Step guide — Guide on how to set up Stable Diffusion on GCP.
What is Stable Diffusion?
- Stable Diffusion is deep learning, text-to-image AI/machine learning model released in 2022. It is primarily used to generate detailed images conditioned on text descriptions, though it can also be applied to other tasks such as inpainting, outpainting, and generating image-to-image translations guided by a text prompt. It was developed by the start-up Stability AI in collaboration with a number of academic researchers and non-profit organizations.
What is AUTOMATIC1111 Web Interface?
AUTOMATIC1111 (A1111 for short) is the de facto GUI & Browser based interface for utilizing Stable Diffusion capabilities.
The web interface is very intuitive and easy to use for beginner-level users but at the same time, has a lot of advanced features to be used by professional-level users. Some of the key features include:
Text-to-image and Image to image processing.
The extension-based design allows an ecosystem of plug & play extensions to add new functionalities.
Lots of other features such as in-painting, colour sketch, and prompt metric to name a few.
Thanks to the passionate open-source community, most new features come to this free Stable Diffusion GUI first.
What is GCP(Google Cloud Platform)?
- GCP is a powerful cloud computing platform that enables businesses to leverage the power of Google’s infrastructure to build and run their applications and services more efficiently and effectively. GCP is used by businesses, organizations, and developers to build, deploy, and manage applications and services on a global scale. Some of the popular services offered by GCP include Google Compute Engine, Google Cloud Storage, Google Cloud SQL, Google Kubernetes Engine, and Google Cloud AI Platform.
Prerequisites for deploying Stable Diffusion on GCP (Google Cloud Platform)
GCP(Google Cloud Platform) account
Computing requirements: Stable diffusion requires a lot of processing and it is recommended to deploy it on a GPU instance. If you want to use a CPU instance due to the high price of GPU instances, you should use an instance with higher CPU cores.
Below are recommended VM configuration requirements on GCP:
GPU VM: NVIDIA T4 with 1 GPU with n1-standard-4 (4 VCPU,15GB memory) configuration.
CPU VM: e2-standard-4 (4 VCPU, 16GB ram).
Step by Step Guide to install, setup, and run Stable Diffusion with AUTOMATIC1111 UI on GCP (Google Cloud Platform)
This step-by-step guide describes how to launch and connect to Techlatest’s Stable Diffusion with AUTOMATIC1111 Web Interface on the Google Cloud Platform(GCP).
Step 1
Open Techlatest Stable Diffusion with AUTOMATIC1111 Web Interface listing on GCP Marketplace.
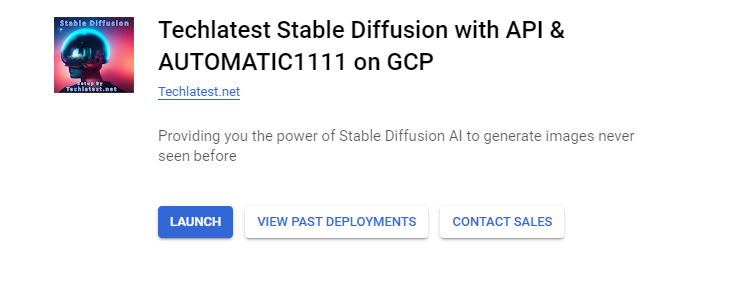
Step 2
Click on the Launch Button**. You may need to log in to your GCP account if not already logged in**
Select a zone where you want to launch the VM(For example — us-east1-)
Optionally change the number of cores and amount of memory. Refer to the pre-requisite section above for recommended VM size. The setup defaults to 4 vCPUs and 15 GB of RAM. (For better performance, please add GPU from the GPU section as shown in the below screenshot.)
Optionally change the boot disc type and size. (This defaults to ‘Standard Persistent Disc’ and 40 GB, respectively.)
Optionally change the network name and subnetwork names. Be sure that whichever network you specify has ports 22 (for SSH), 3389 (for RDP), and 80 (for HTTP) exposed.
Click Deploy when you are done.
Techlatest Stable Diffusion with AUTOMATIC1111 Web Interface will begin deploying.

Step 3
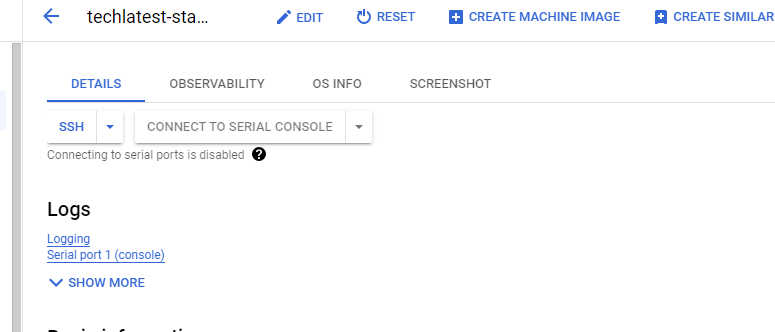
A summary page displays when the compute engine is successfully deployed. Click on the Instance link to go to the instance page.
Step 4
On the instance page, click on the “SSH” button, and select “Open in a browser window”.

Step 5
This will open an SSH window in a browser.


Step 6
Run the below command in the Terminal to set the password for the “ubuntu” user.
sudo passwd ubuntu

After Running this Command in the Terminal Your password is Updated.

Step 7
Now the password for the Ubuntu user is set, you can connect to the VM’s desktop environment from any local Windows machine using RDP or Linux machine using Remmina*.*
Step 8
To connect using RDP via Windows machine*, first, note the external IP of the VM from the VM details page as highlighted below.*

Step 9
Then From your local Windows machine, go to the “start” menu, in the search box type and select “Remote desktop connection”.
Step 10
In the “Remote Desktop Connection” wizard, paste the external IP address and click on the connect Button.

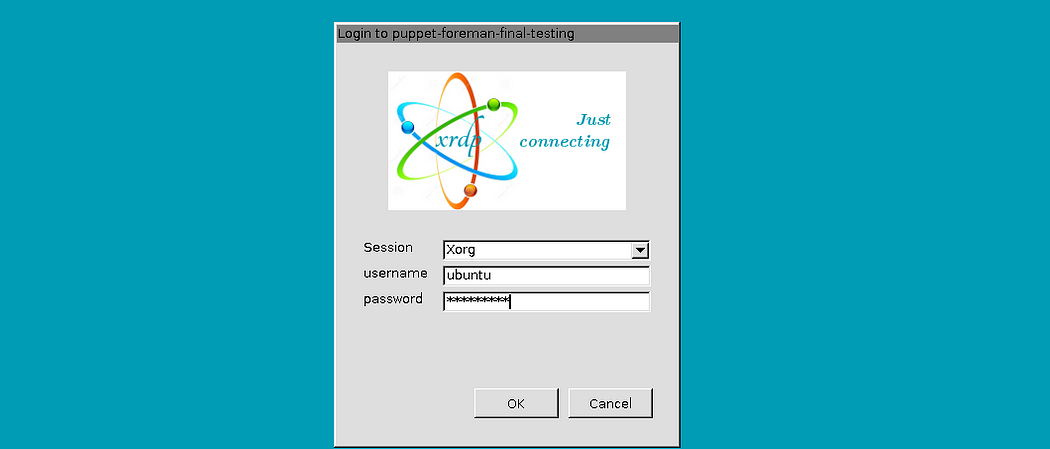
Step 11
This will connect you to the VM’s desktop environment. Provide “ubuntu” as the user id and the password set in step 7 to authenticate. Click on the OK Button.
Step 12
Now you are connected to VM via Windows machines*.*
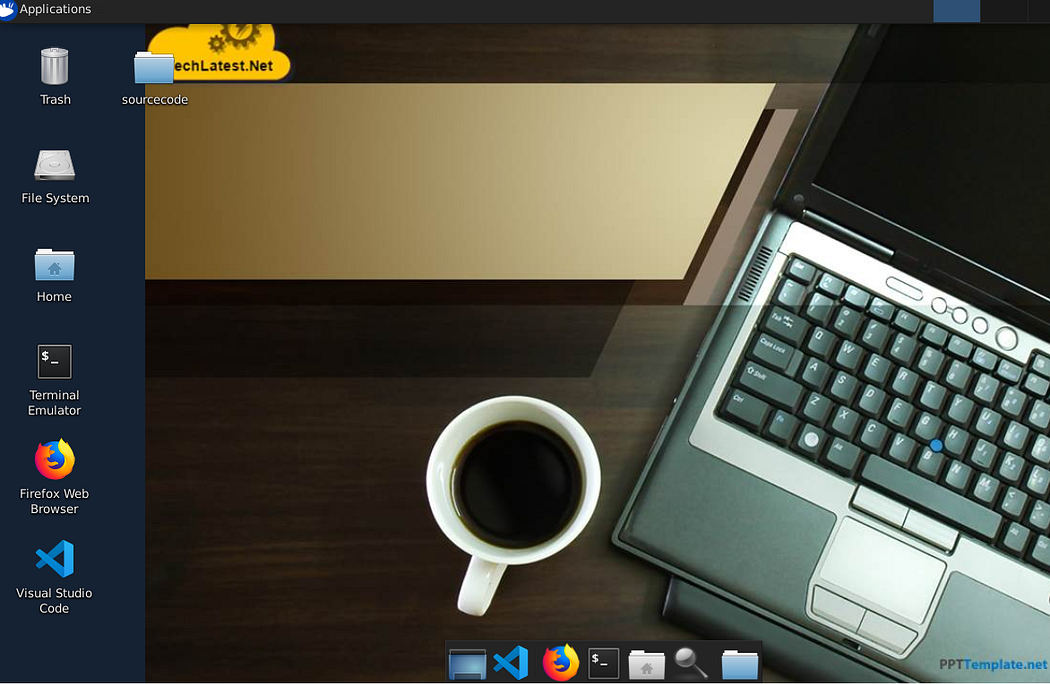
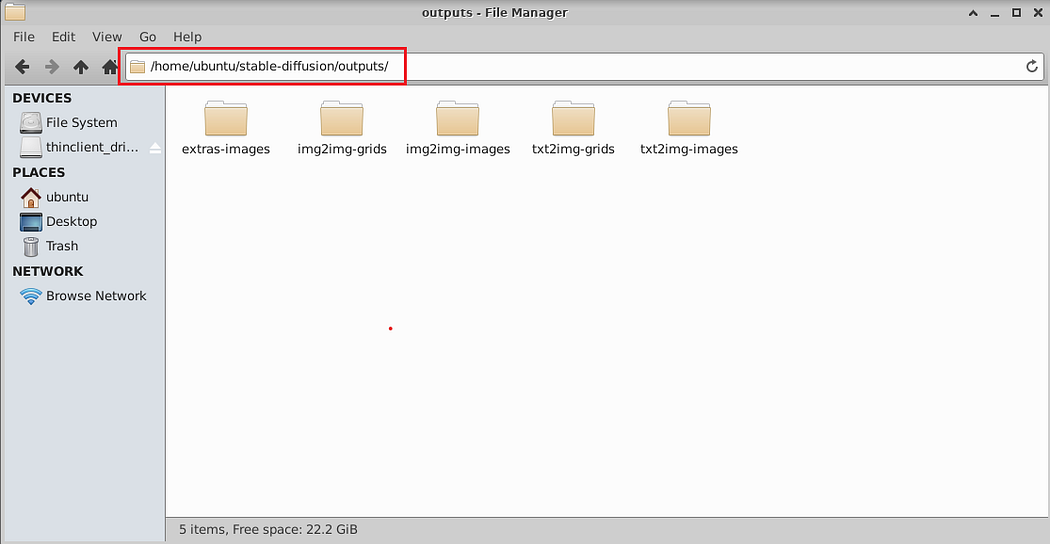
- The images created from GUI are stored under /home/ubuntu/stable-diffusion/output directory on the VM.
Step 13
To access the Stable Diffusion GUI via browser, Copy the public IP of the VM in the browser of your local machine (not the VM) and hit enter.
Note*: Please use* HTTP and not HTTPS in the URL.
Please Note that for the first time, it will take 5 to 10 minutes to launch the app in the browser. So if GUI is not coming please try after a few minutes.
Step 14
Once the setup is running, you should see the AUTOMATIC1111 web interface in your browser.
The Stable Diffusion GUI comes with lots of options and settings. The first window shows text to the image page. Provide the Prompt and click on Generate button and wait till it finishes.


Step 15
Output Images can be seen in the Image Browser tab. Click on the Image browser and click on the first page to load the images.
Step 16
In the Image Browser*, click on any image to see its details.*
Step 17
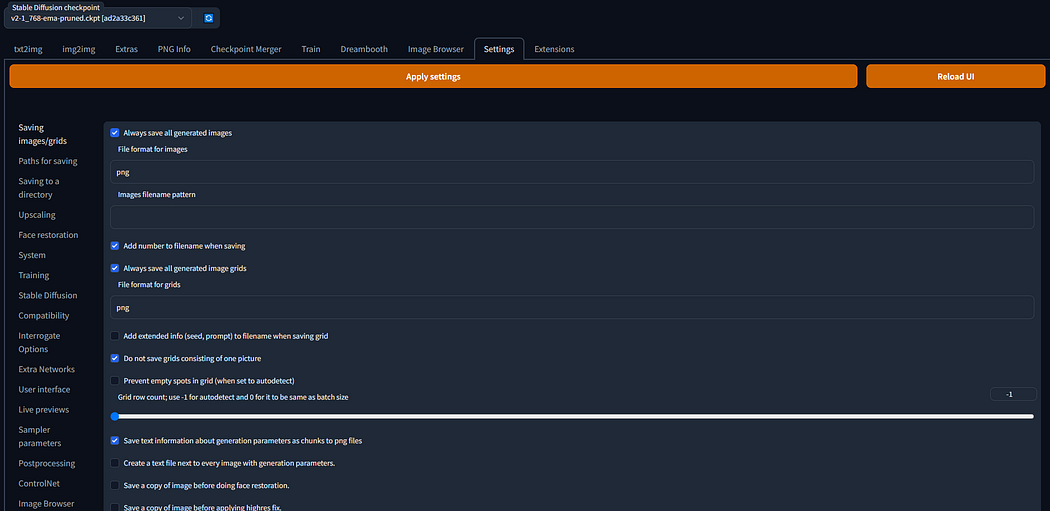
To change any configuration or settings of the UI, go to the Settings tab.
Step 18
This concludes the step-by-step guide on how to set up Stable Diffusion with AUTOMATIC1111 on GCP (Google Cloud Platform).
For more information on how to use the GUI and its full features, please visit AUTOMATIC1111's official documentation.
About TechLatest.net?
- TechLatest.net is a registered cloud partner with Amazon Web Services (AWS), Microsoft Azure, and Google Cloud Platform (GCP). It offers a comprehensive range of cloud-based products and solutions that come equipped with an array of out-of-the-box functionalities, pre-installed setups, demos, videos, tutorials, and various other tools that aid in expediting technology evaluation and adaption. Additionally, Techlatest’s products are readily available on popular marketplaces such as AWS Marketplace, Azure Marketplace, and Google Cloud Marketplace, providing customers with an opportunity to explore and experience them firsthand.