How to Setup Ethereum Full Node With POS ON AWS(Amazon Web Services)
How to Setup Ethereum Full Node With POS ON AWS(Amazon Web Services)

Bringing the latest tech to grow your business. AWS, GCP & Azure registered partner and cloud solution provider on latest tech.
Introduction
Ethereum 2.0, also known as Eth2 or Serenity, is a major upgrade to the Ethereum network that includes a shift from a Proof of Work (PoW) consensus mechanism to a Proof of Stake (PoS) consensus mechanism. Ethereum PoS is the new consensus mechanism that will replace the current PoW system used by Ethereum.
In a PoW system, miners use powerful computers to solve complex mathematical problems to validate transactions and add blocks to the blockchain. This requires a significant amount of computational power and energy, which can be costly and environmentally unfriendly. In a PoS system, validators stake their ether to participate in the network and validate transactions. Validators are selected based on their stake, and the amount of new Ether they receive as a reward is proportional to the amount of Ether they have staked.
Ethereum PoS is designed to be more energy-efficient and scalable than PoW, allowing for faster transaction processing times and lower fees. It also provides greater security against certain types of attacks, such as 51% of attacks, where a single entity controls a majority of the mining power.
Overall, the shift to Ethereum PoS is expected to make the Ethereum network more efficient and sustainable and enable the development of new decentralized applications that can scale to meet the needs of a growing user base.
In this article, we will introduce five topics
Ethereum — Ethereum is an open-source, decentralized blockchain platform that features smart contracts. It is the second-largest cryptocurrency by market capitalization after Bitcoin. Ethereum was proposed by Vitalik Buterin in 2013 and launched in 2015. Ethereum enables developers to build decentralized applications (DApps) on top of its blockchain network.
Ethereum Full Nodes — In Ethereum, a full node is a complete implementation of the Ethereum blockchain. It is software that validates and stores all the transactions, smart contracts, and blocks on the Ethereum network.
POS(Proof-of-Stake) — POS stands for Proof of Stake, which is a consensus mechanism or algorithm that is used by blockchain networks, including Ethereum, to validate transactions and add new blocks to the chain.
AWS(Amazon Web Services) — AWS is the world’s most comprehensive and broadly adopted cloud platform, offering over 200 fully featured services from data centres globally.
Step by Step guide — Guide on how to set up Ethereum Full Node With POS ON AWS.
Step by Step Guide to install, setup, and run Ethereum Full Node With POS ON AWS(Amazon Web Services)
This step-by-step guide describes how to launch and connect to Techlatest’s Ethereum Full Node With POS ON AWS(Amazon Web Services).
Note
If you want to save time in setting up an Ethereum Full Node with POS fully synced environment, you can opt for Techlatest Ethereum Full Node with POS, available on the AWS marketplace. By launching and connecting to Techlatest’s Ethereum Full Node with POS on AWS, users can set up their synced environment in a few minutes, rather than going through a lengthy installation and syncing process which takes days to sync several GBs of ledger data and costs hundreds of dollars in bandwidth cost.
- Step 1
First, create an AWS account if you don’t have one already.
- Step 2
Open Ethereum Full Node with PoS listing on GCP Marketplace.
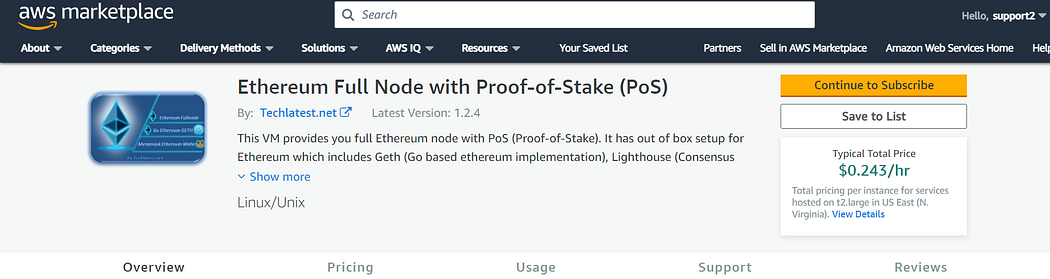
- Step 3
After the opening of Ethereum Full Node with PoS listed on the AWS marketplace, Click on Continue to subscribe.

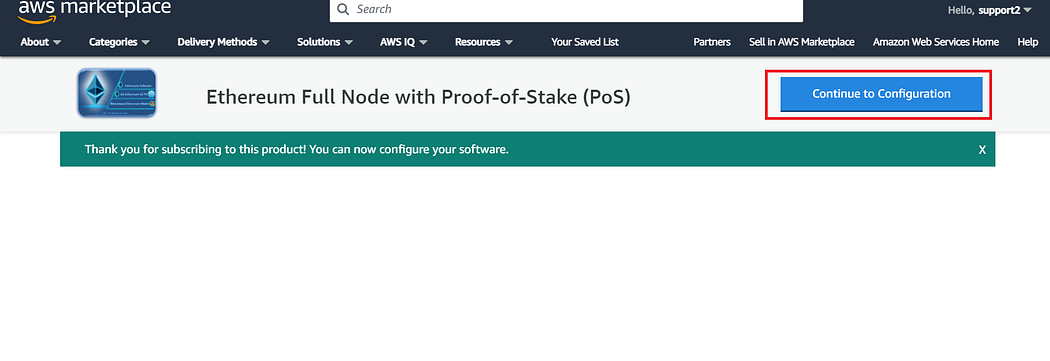
- Step 4
Log in with your credentials and follow the instruction. Click on Continue to configure.
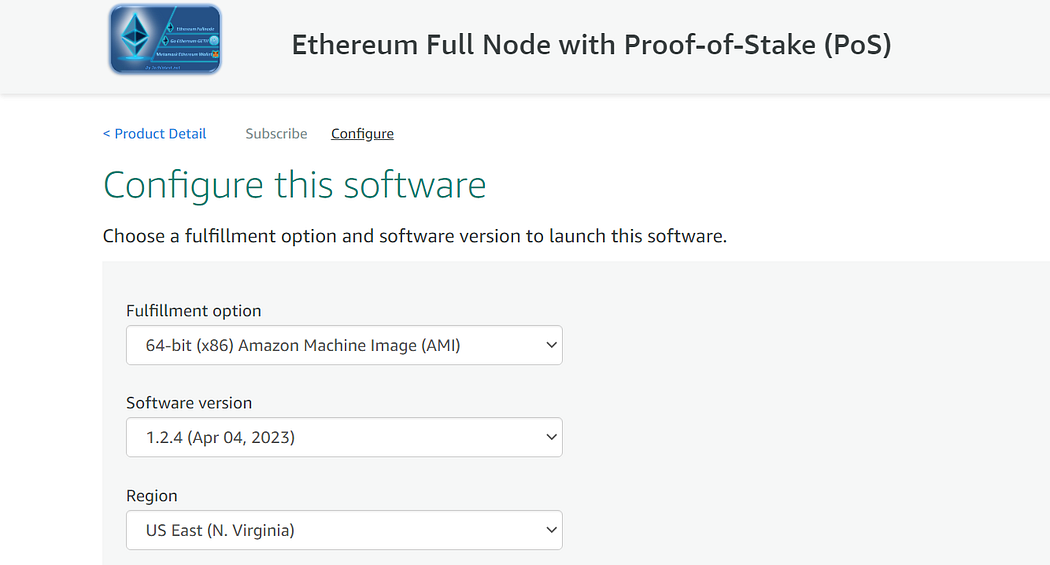
- Step 5
Select a Region where you want to launch the VM(such as US East (N.Virginia)
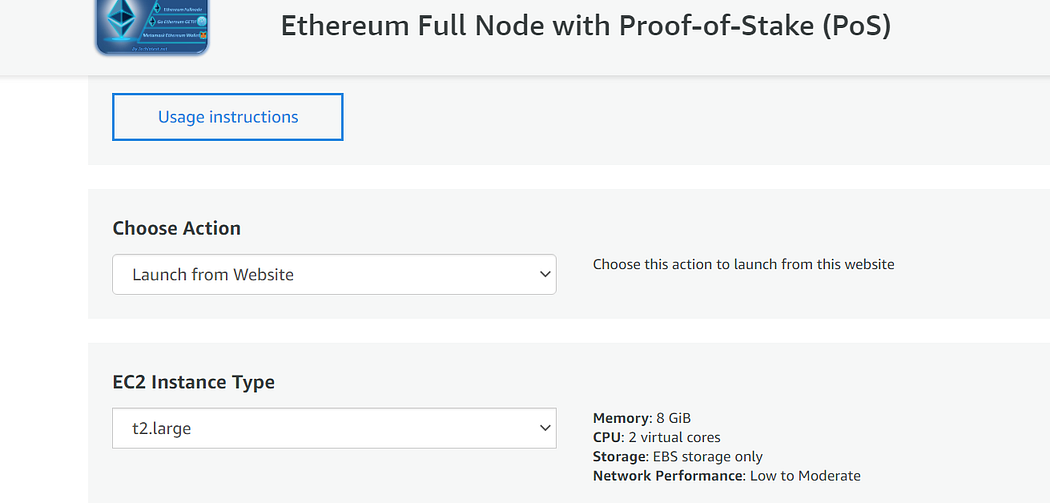
- Step 6
Choose Action: You can launch it through EC2 or from Website. (Let’s choose Launch from the website)
Optionally change the EC2 instance type. (This defaults to t2.large instance type, 2 vCPUs and 8 GB RAM.)
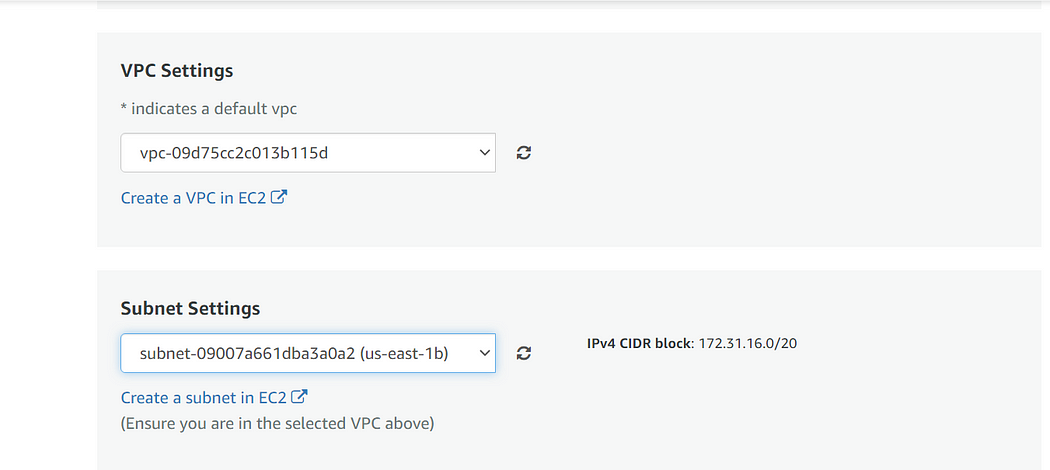
- Step 7
Optionally change the network name and subnetwork names.
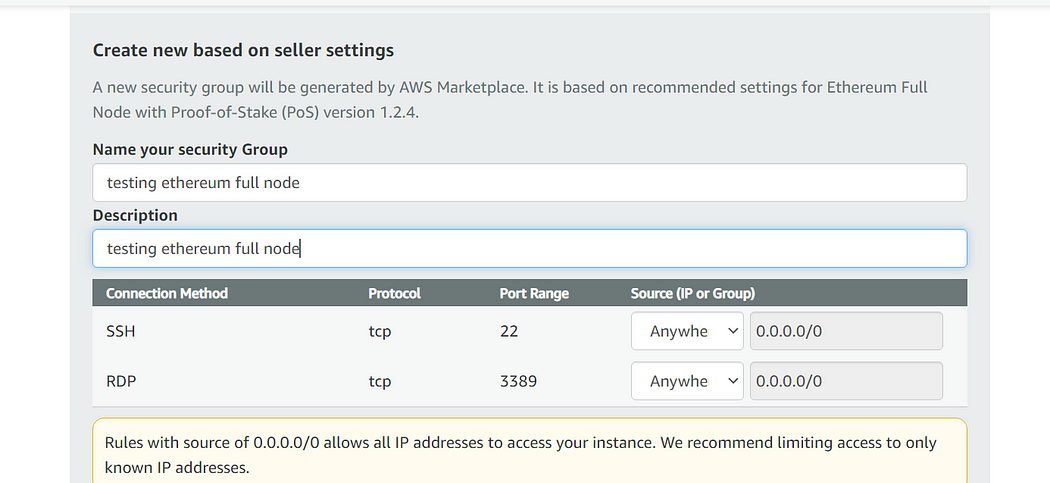
- Step 8
Select the Security Group. Be sure that whichever Security Group you specify have ports 22 (for ssh) and 3389 (for RDP) exposed.
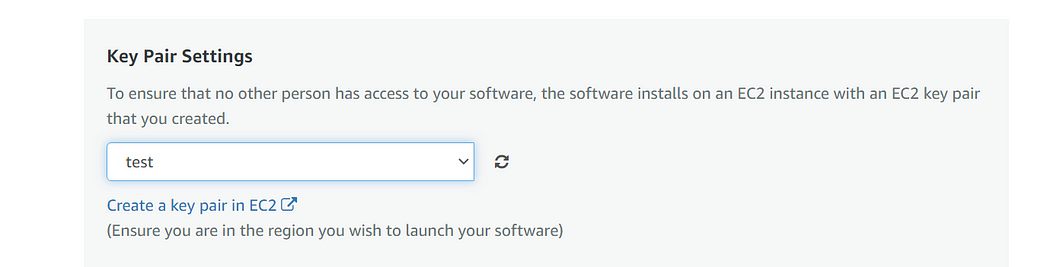
Be sure to download the key pair which is available by default, or you can create the new key pair and download it.
- Step 9
Create a Key pair in EC2 Console.
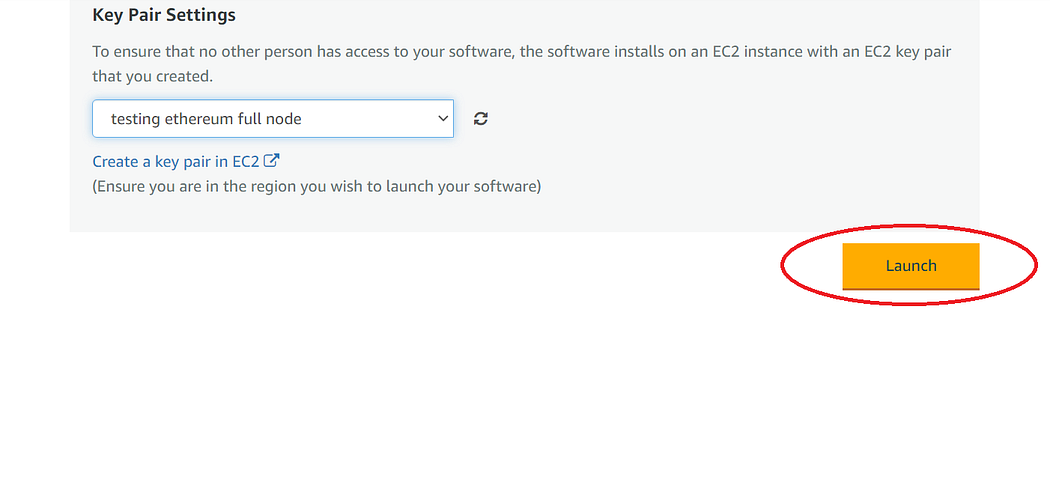
- Step 10
After this click on the Launch Button. Ethereum Full Node with PoS will begin deploying.
- Step 11
A summary page displays. To see this instance on EC2 Console click on EC2 Console link.

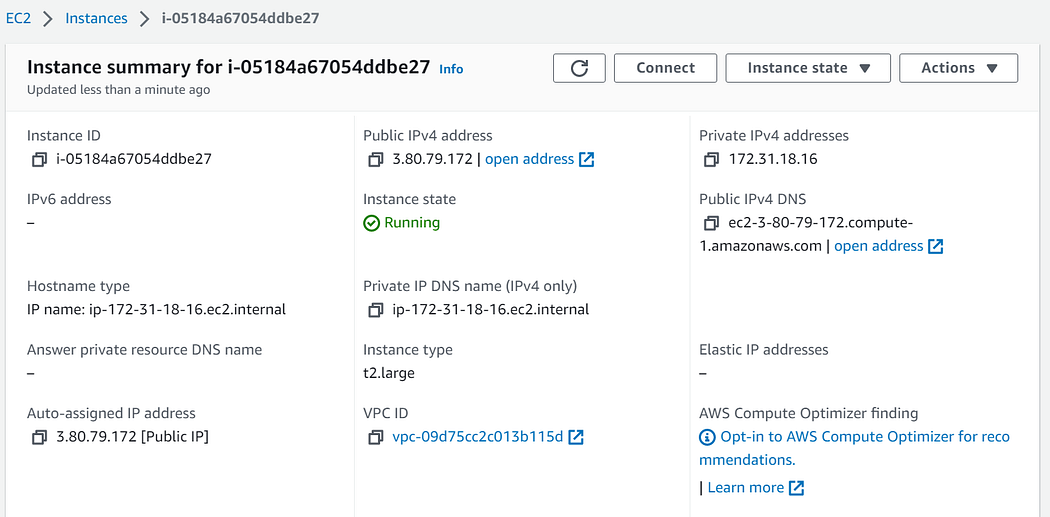
- Step 12
On the EC2 Console page, the instance is up and running. To connect to this instance through putty, copy the IPv4 Public IP Address.
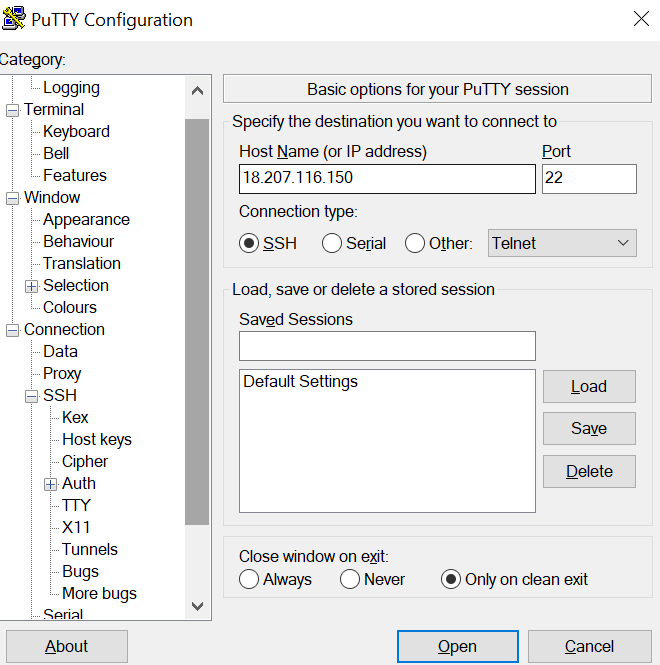
- Step 13
Open Putty, paste the IP address and browse the private key you downloaded while deploying the VM, by going to SSH->Auth->Credentials, click on Open, and Enter ubuntu as user-id.

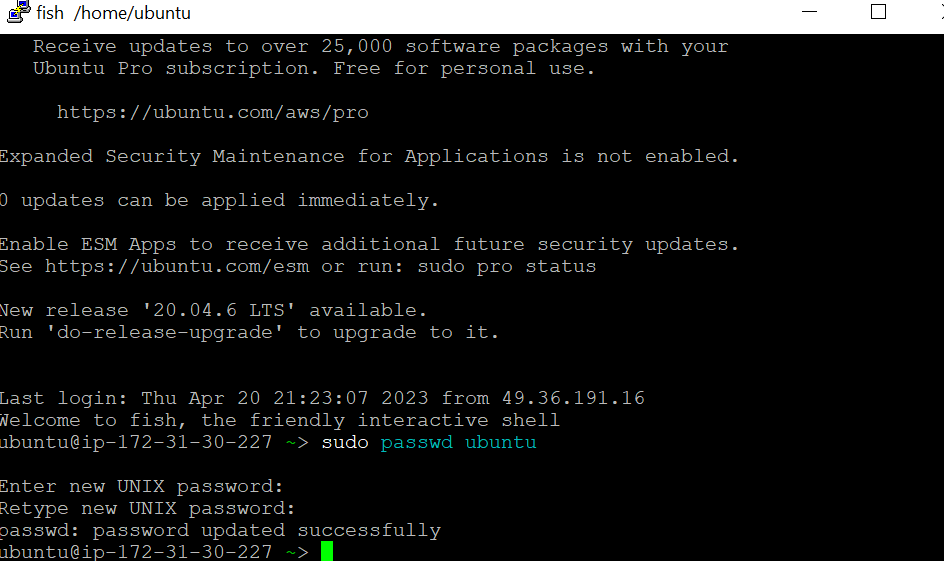
- Step 14
Once connected, change the password for the Ubuntu user using the below command.
sudo passwd ubuntu
- Step 15
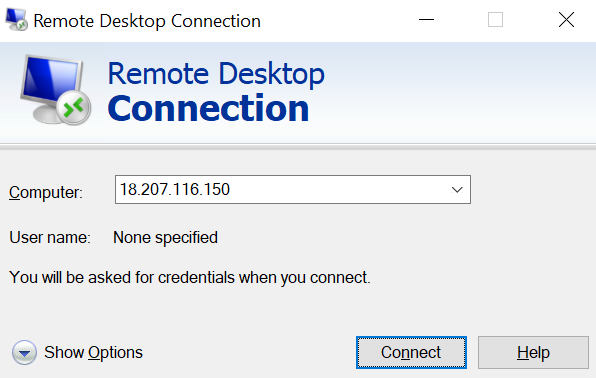
Now the password for the Ubuntu user is set, you can connect to the VM’s desktop environment from any local Windows Machine using the RDP protocol.
From your local Windows machine, go to the “start” menu, in the search box type and select “Remote desktop connection”. In the “Remote Desktop Connection” wizard, copy the public IP address and click Connect.
- Step 16
This will connect you to the VM’s desktop environment. Provide the username (e.g. “ubuntu”) and the password set in the above “Reset password” step to authenticate. Click OK.
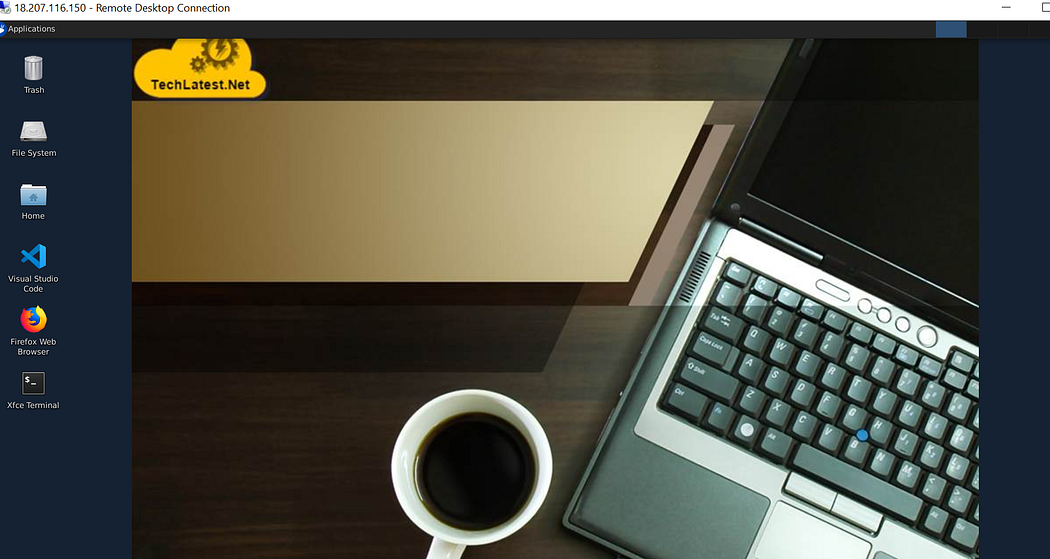
- Step 17
Now you are connected to the out-of-box Ethereum Full Node with PoS environment via Windows Machine.
- Step 18
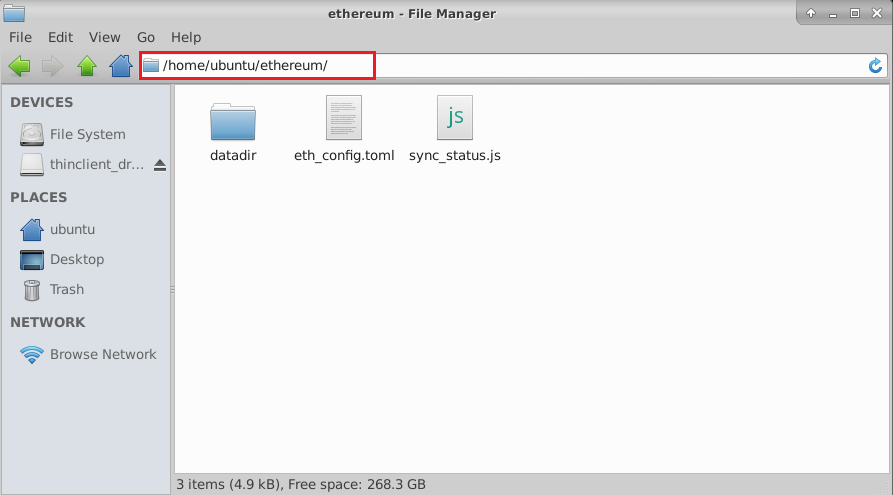
Ethereum Full Node directories:
Ethereum home directory location is /home/ubuntu/ethereum
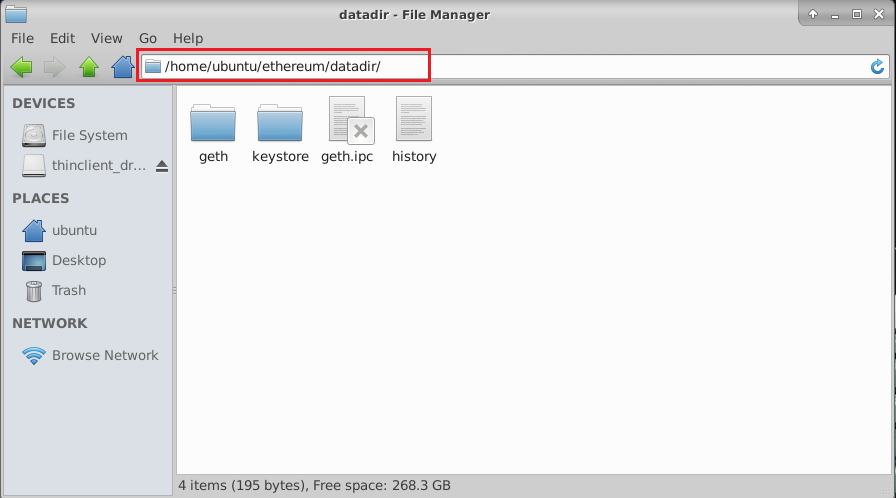
Data directory location is /home/ubuntu/ethereum/datadir
- Step 19
Monitoring and managing node sync process :
The VM automatically starts the sync process on startup. To verify if the sync is in progress, run the below commands.
ps -ef|grep geth

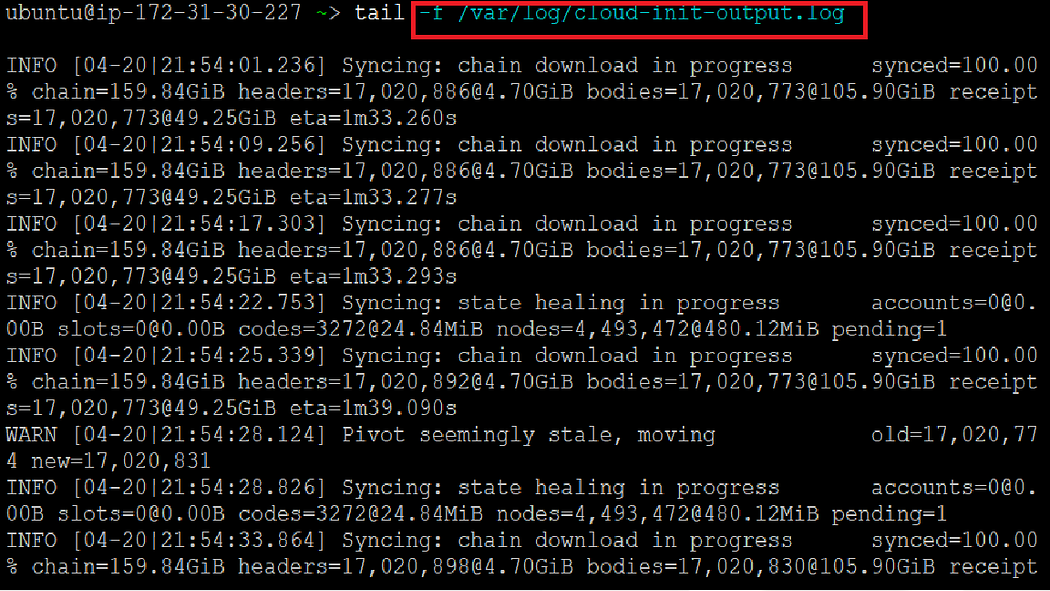
You can also verify the sync process by monitoring the sync log as shown below.
tail -f /var/log/cloud-init-output.log
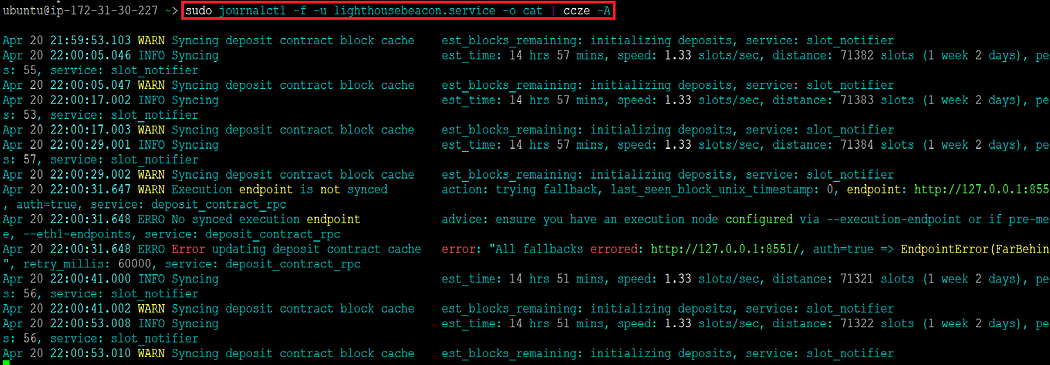
You can monitor the lighthouse logs by running the -
Note: If you encounter a JWT authorization error or connection refused error while running the below command, please follow Lighthouse Troubleshooting Guide. to fix them.
sudo journalctl -f -u lighthousebeacon.service -o cat | ccze -A
To stop the sync process, simply run the below command :
sudo killall -HUP geth

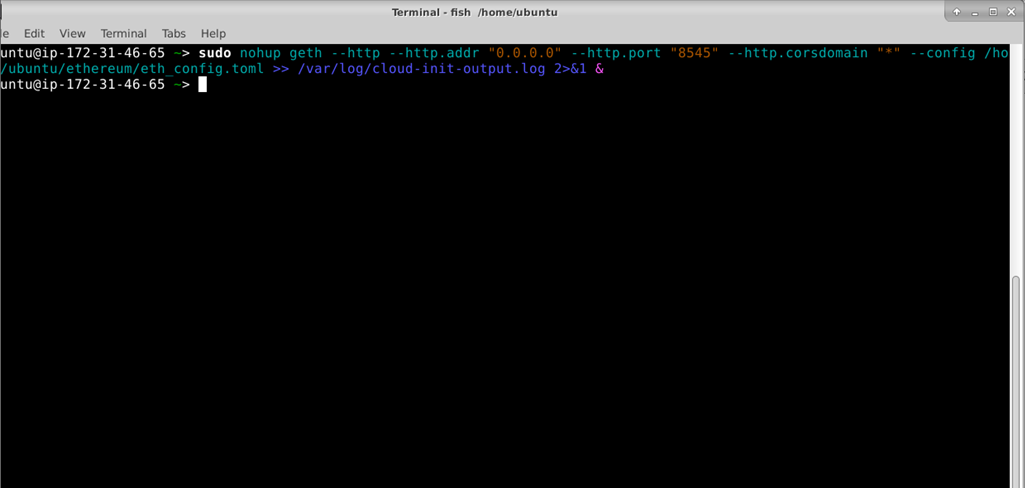
To restart the sync process, run the below command.
Note: Make sure the below command is executed from the terminal inside the Remote desktop GUI to avoid process termination.
sudo nohup geth --http --http.addr "0.0.0.0" --http.port "8545" --http.corsdomain "*" --config /home/ubuntu/ethereum/eth_config.toml >> /var/log/cloud-init-output.log 2>&1 &
- Step 20
Tracking sync progress.
You can track the sync progress by attaching it to the running geth console and running the monitoring script as shown below. Note that if the progress is shown as 99% then the node is mostly synced:
sudo geth attach --datadir /home/ubuntu/ethereum/datadir/
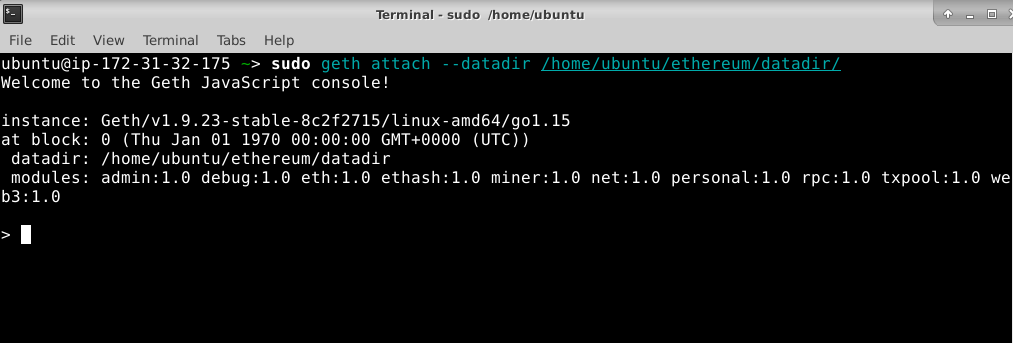
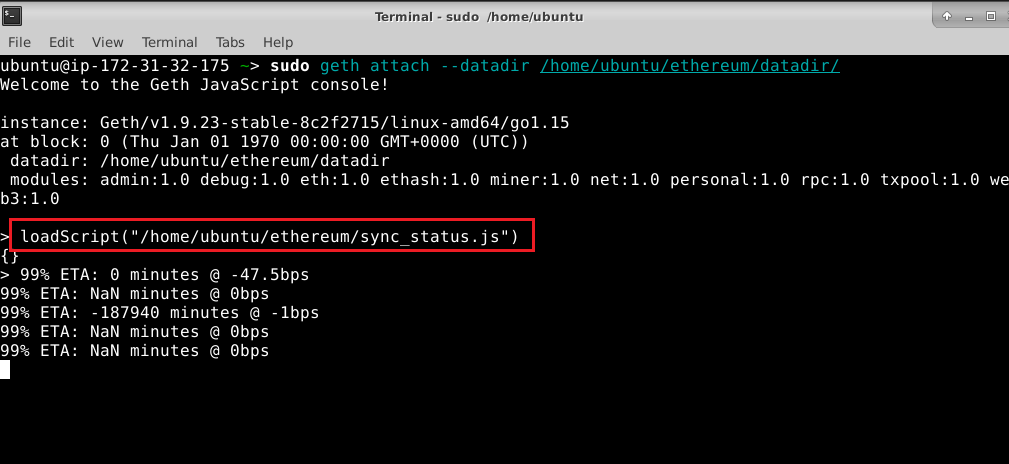
this will connect to the console, and then run
loadScript("/home/ubuntu/ethereum/sync_status.js")
- Step 21
Accessing Metamask Ethereum wallet
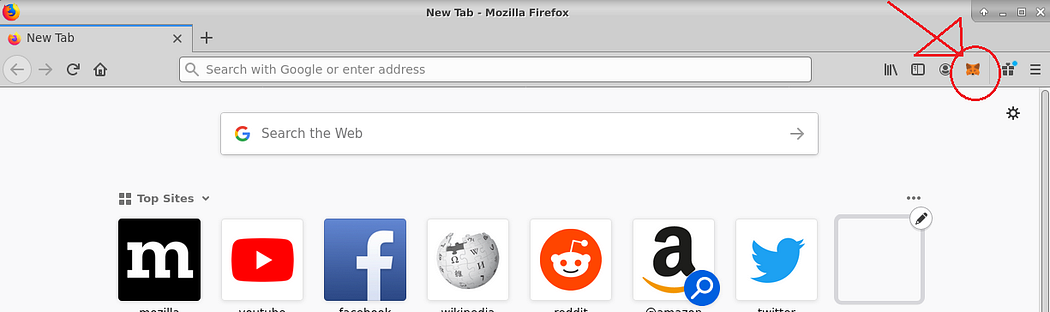
The VM comes with Metamask the most popular Ethereum wallet, preinstalled in the Firefox browser.
Connect to the VM via Remote desktop, open the Firefox Browser and you will see the metamask plugin in the browser.
- Step 22
Click on the Metamask icon, and complete the configuration by following the instructions.
Once the Metamask is configured, you will see Metamask is running on Ethereum Mainnet Network.
- Step 23
If you want to connect Metamask on localhost, Please add port 8545 to the Security Group of your VM. Follow the below steps to open port 8545:
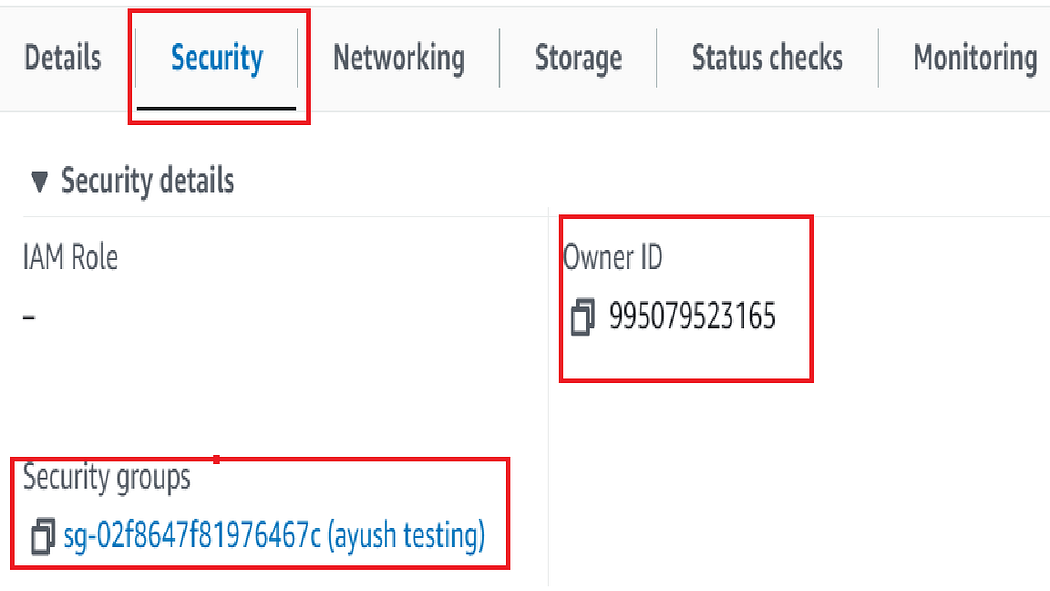
On your VM’s detail page, navigate to the Security tab and click on Security Group as shown below:
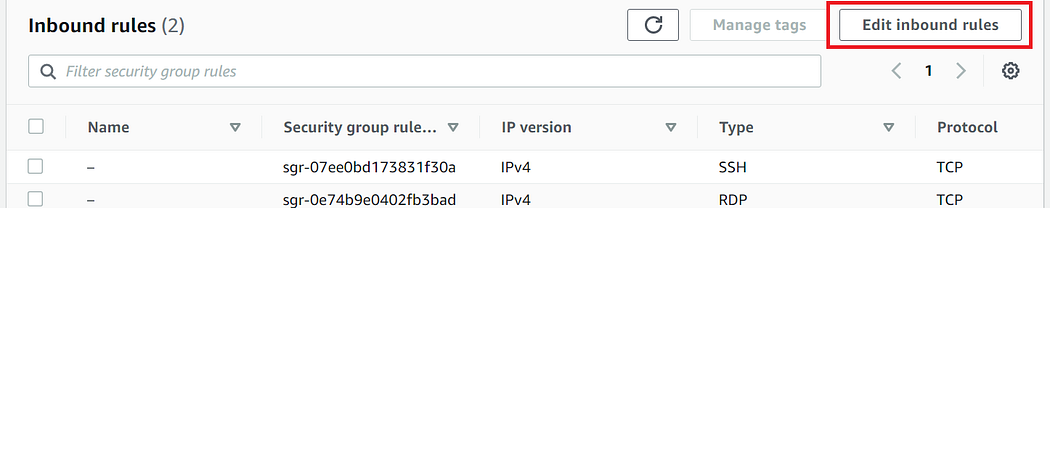
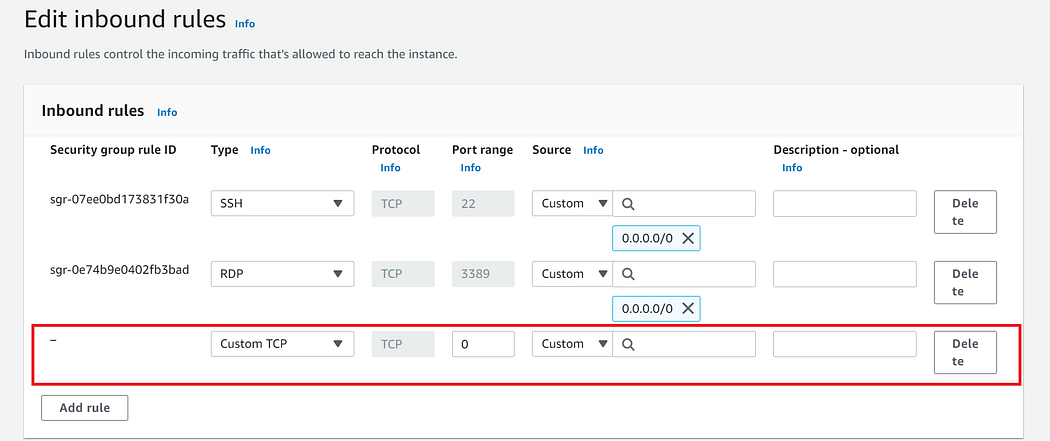
It will open the security groups detail page. Click on Edit inbound rules.
click on Add Rule-
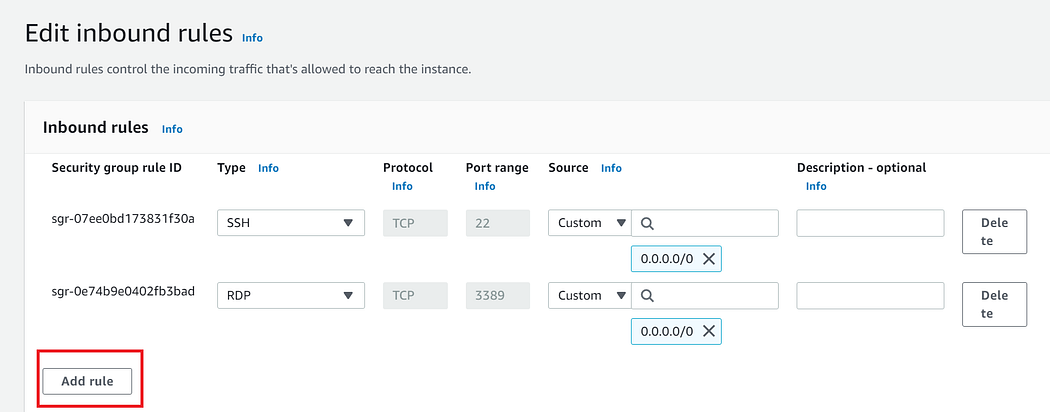
Select Custom TCP from the Type dropdown, and enter 8545 under port range and other info as shown below. Save the changes.-
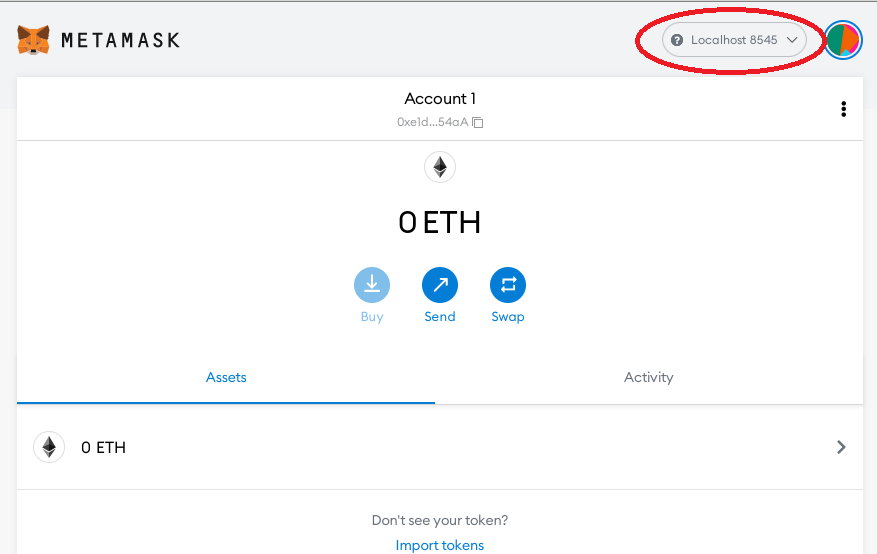
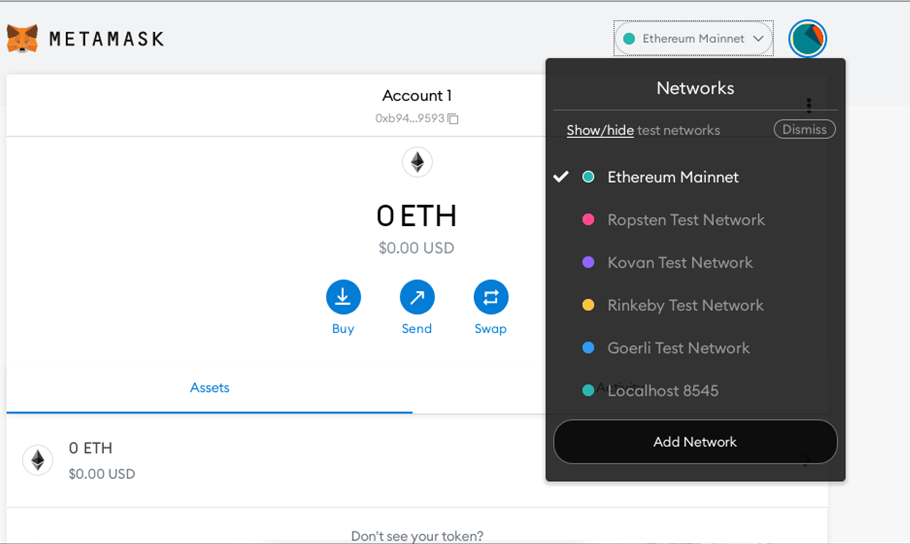
Now select localhost 8545 from the Metamask Network dropdown. You should be able to connect to localhost as shown:
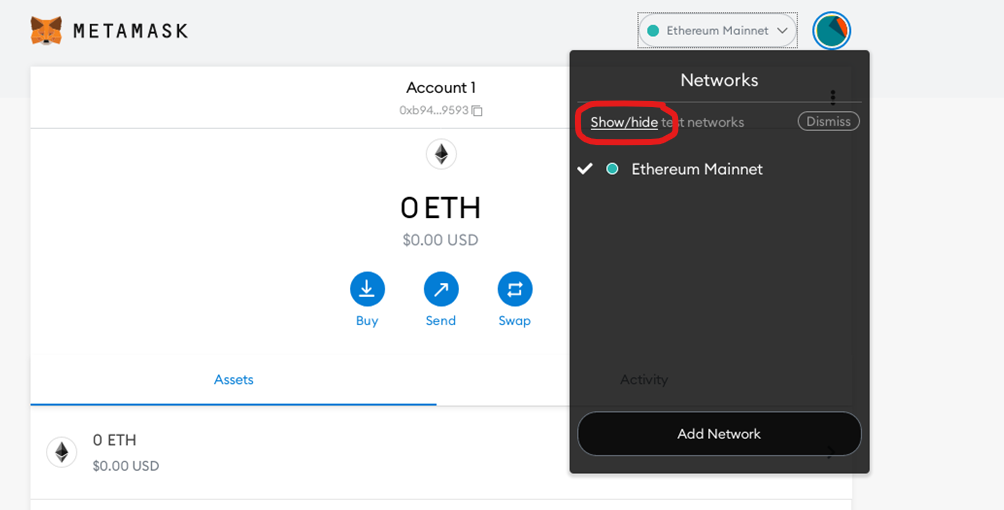
If you don’t see localhost and other test network options under the network dropdown, please click on the show/hide link as shown below-
It will take you to the set menu. Here you enable the show test network option and save the changes.
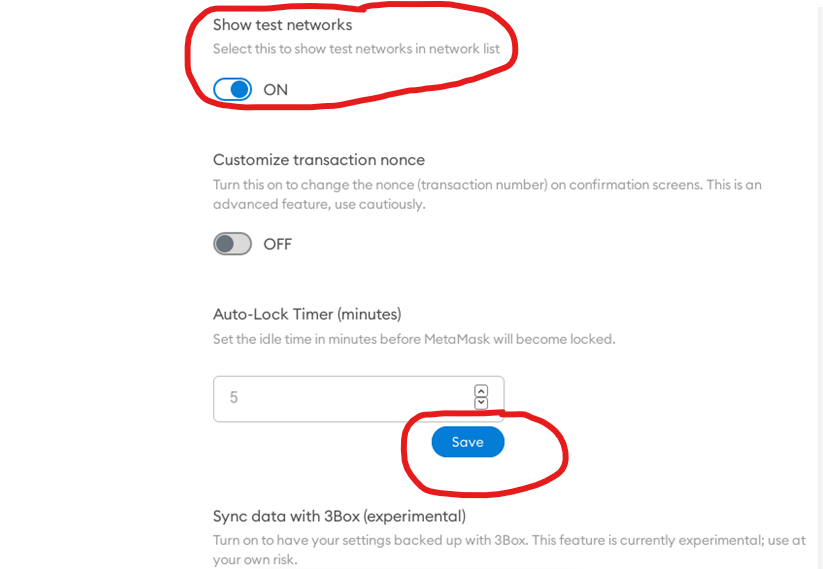
Close the setting page and reopen the network dropdown. Now you should be able to see all the networks.
Conclusion
In this blog, we have discussed Ethereum 2.0 and the shift to the PoS consensus mechanism, which is expected to make the Ethereum network more efficient and sustainable. We have provided a step-by-step guide to install, setup, and run Ethereum Full Node with PoS on AWS (Amazon Web Services) by launching and connecting to Techlatest’s Ethereum Full Node with PoS on AWS from the AWS marketplace, which saves time compared to a lengthy installation process. The guide includes instructions on how to connect to the VM’s desktop environment using putty and RDP protocols, monitor and manage node sync progress, and access the Metamask Ethereum wallet. Additionally, we have provided instructions on how to open port 8545 in the Security Group of the VM to connect Metamask to localhost. Overall, this article provides a useful guide for those interested in contributing to the Ethereum network and accessing the benefits of the PoS consensus mechanism.


