How to Install Browser-Based Kali Linux with 2500+ security apps On Amazon Web Services(AWS)
How to Install Browser-Based Kali Linux with 2500+ security apps On Amazon Web Services(AWS)

Bringing the latest tech to grow your business. AWS, GCP & Azure registered partner and cloud solution provider on latest tech.
Introduction
Browser-based Kali Linux refers to a version of the Kali Linux operating system that can be run directly from a web browser, without the need for installation or a separate virtual machine. It is a cloud-based version of Kali Linux, which means that it runs on remote servers and can be accessed via a web browser from any device with an internet connection.
The browser-based version of Kali Linux offers a number of advantages, including easy accessibility and the ability to run on low-end hardware. It also allows users to quickly test and experiment with Kali Linux tools without the need to install the OS on their local machine.
In this article, we will introduce three topics
Browser-Based Kali Linux — Browser-based Kali Linux is a cloud-based version of the Kali Linux operating system that can be accessed via a web browser.
AWS(Amazon Web Services) — Amazon Web Services (AWS) is a comprehensive cloud computing platform that offers a wide range of services and tools for businesses and individuals.
Step by Step guide — Guide on how to set up Browser-Based Kali Linux On Amazon Web Services(AWS).
Step by Step Guide to install, setup, and run Browser Based Kali Linux On Amazon Web Services(AWS)
- Step 1
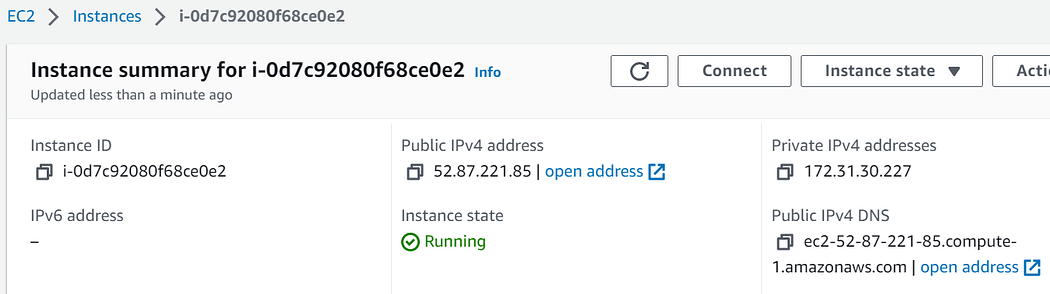
On the EC2 Console page, the instance is up and running. To connect to this instance through putty, copy the IPv4 Public IP Address.
(Refer to Putty Guide for details on how to connect using Putty/SSH).
- Step 2
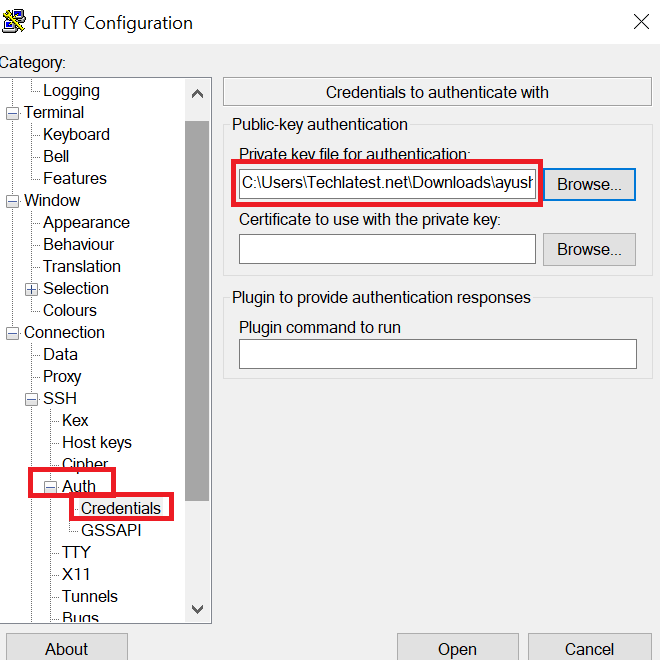
Open Putty, paste the IP address and browse the private key you downloaded while deploying the VM, by going to SSH->Auth, click on Open*.*

- Step 3
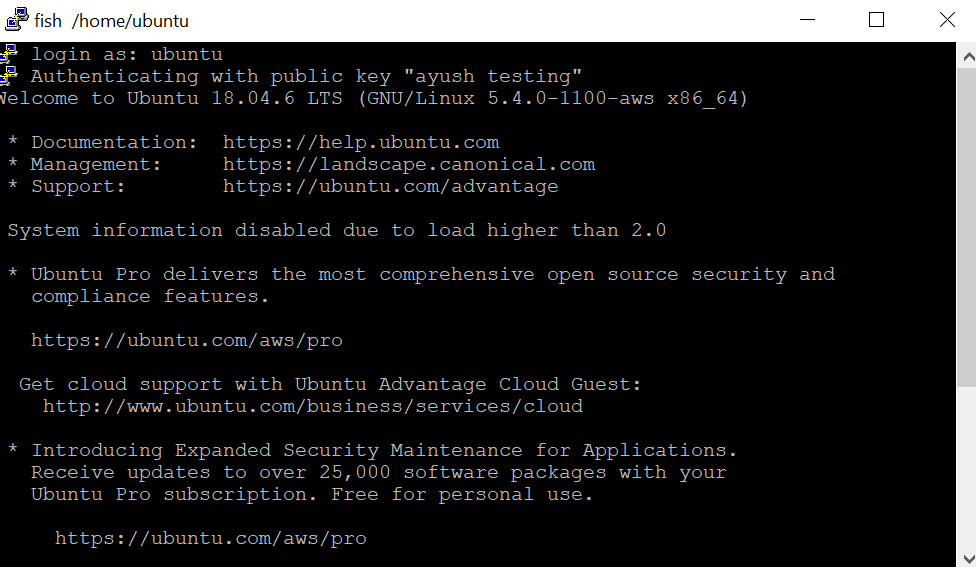
Login as ubuntu.
- Step 4
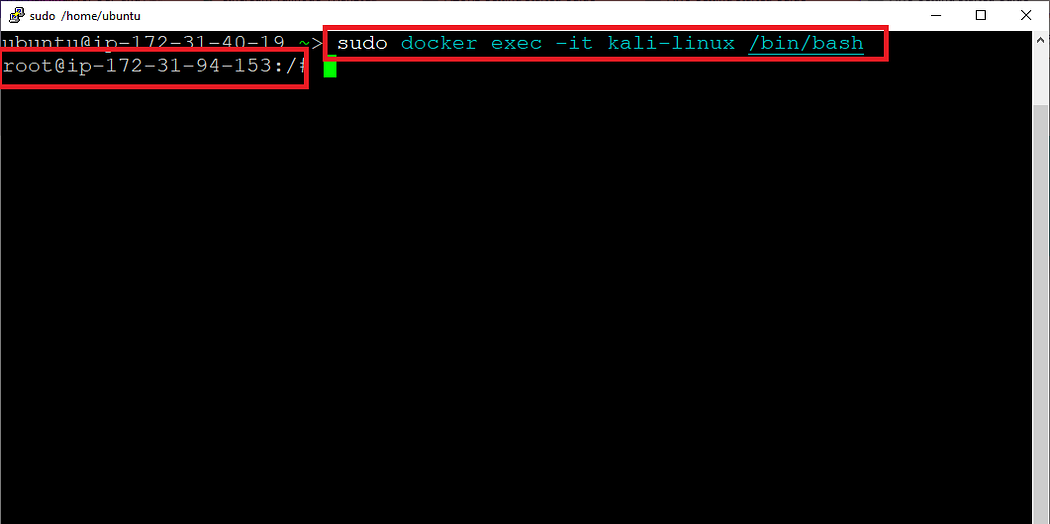
Run the below command to connect to the Kali terminal from the SSH command prompt.
sudo docker exec -it kali-linux /bin/bash
- Step 5
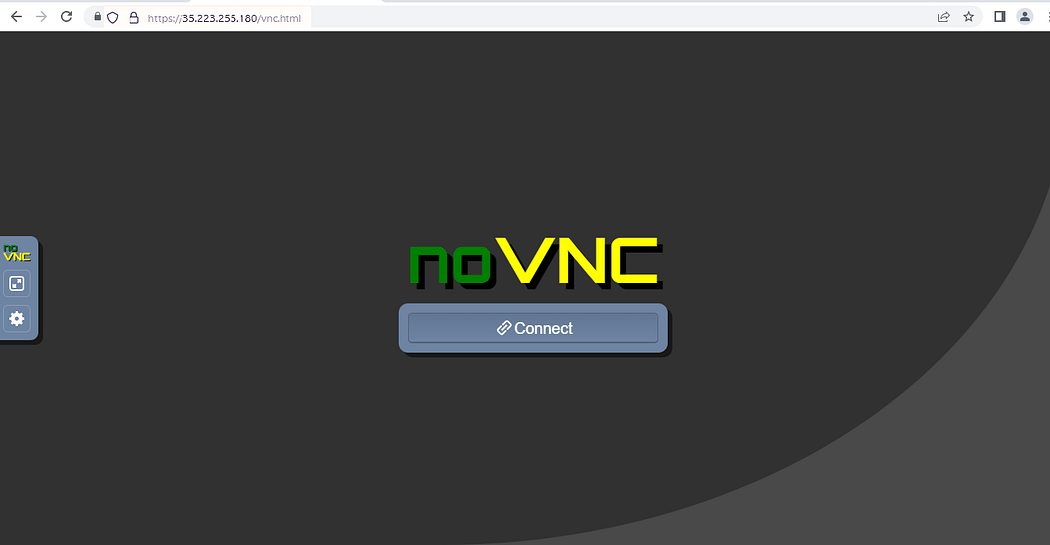
To access the Kali Linux GUI environment via a browser. To do so, Copy the Public IP address of the VM from the VM’s details page and enter the address as https://vm_public_ip/vnc.html in the browser. Hit enter.
Note: Please use HTTPS and not HTTP in the URL when accessing Kali Linux GUI, e.g. https://52.87.221.85/vnc.html.
- Step 6
While accessing GUI via browser, an SSL certification warning will be shown. Click on Show details and then select Wish to Continue.


- Step 7
After accepting the SSL certification warning it will show you the below screen. Please click on Connect button.
- Step 8
Now you have connected to a box Kali GUI Linux environment via a browser.
- Step 9
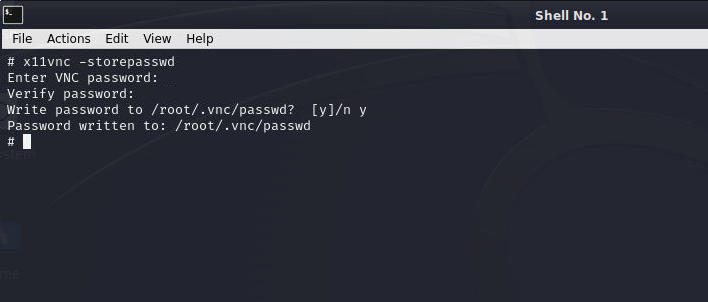
After your first login, Open the terminal and run the below command to change the root user password.
x11vnc -storepasswd
- Step 10
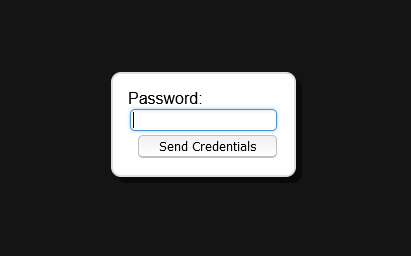
Once the password is set, reboot the VM and re-login with the root user and new password.
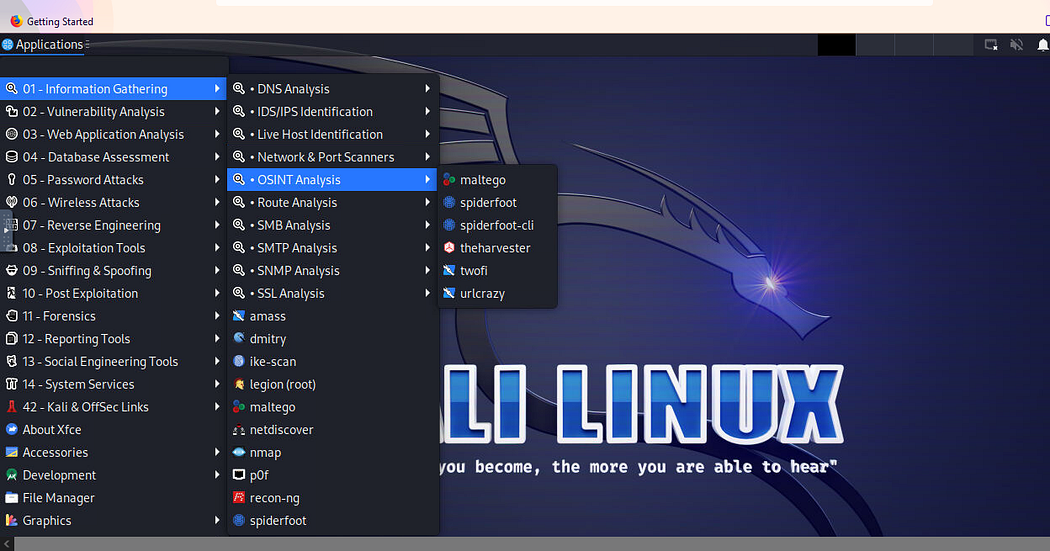
- Step 11
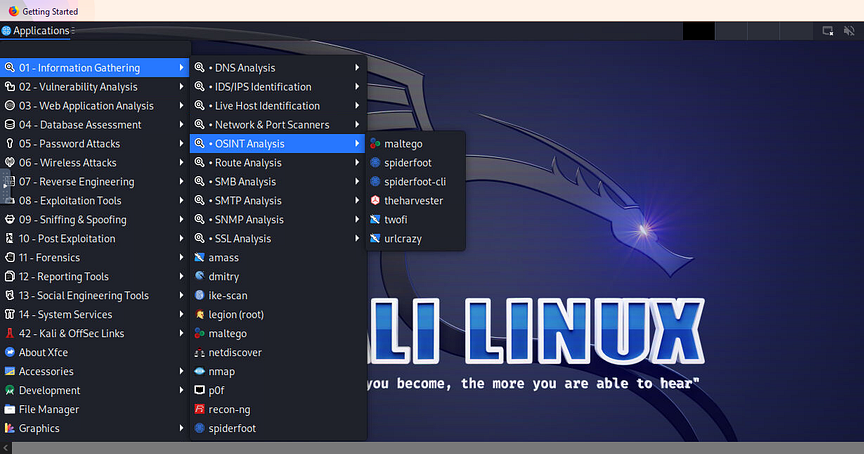
Now you are connected to out-of-box Kali GUI Linux via a browser which comes with preinstalled Kali tools and apps such as Information Gathering, Vulnerability Analysis, web application analysis, also tools like development, you can explore all this is just amazing.
- Step 12
To SSH to the VM copy the public IP of the VM and paste it in putty. Log in to the instance using SSH via key-based authentication. Use “ubuntu” as userid (refer to Putty Guide for details on how to connect using Putty/SSH).
- Step 13
Run the below command to connect to the Kali terminal from the SSH command prompt.
sudo docker exec -it kali-linux /bin/bash
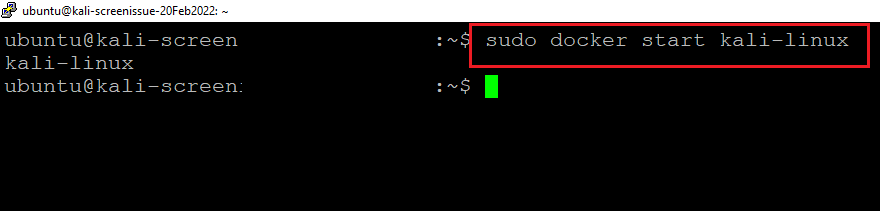
- Step 14
If the above command returns an “Error response from daemon:” error, then run the below command to start the Kali container and then run the above command again.
sudo docker start kali-linux
Conclusion
This article provides a step-by-step guide on how to set up Browser Based Kali Linux on Amazon Web Services (AWS) by accessing the EC2 Console page, connecting to the instance through Putty, and logging in as Ubuntu. The guide includes instructions on how to connect to the Kali Linux GUI environment via browser by copying the public IP address of the VM and entering the address as https://vm_public_ip/vnc.html in the browser. The guide also includes instructions on how to change the root user password and how to SSH to the VM by copying the public IP of the VM and pasting it into Putty. Overall, this article is a comprehensive guide for anyone interested in setting up Browser Based Kali Linux on AWS.


