How to extend Automatic1111 & Stable Diffusion functionality using Extensions
How to extend Automatic1111 & Stable Diffusion functionality using Extensions

Bringing the latest tech to grow your business. AWS, GCP & Azure registered partner and cloud solution provider on latest tech.
Introduction
Automatic1111 Gives an Ecosystem of extensions. In this Article, We will walk through the extensions overview, settings, and Installation Guide.
Automatic1111 and Stable Diffusion are powerful tools that provide effective solutions for various applications. However, there may be instances where users need to extend the functionality of these tools to meet specific needs or integrate with other tools. Extensions can help users customize the functionality of Automatic1111 and Stable Diffusion to suit their unique requirements. In this blog, we will discuss how to extend Automatic1111 and Stable Diffusion functionality using extensions.
What are Automatic1111 and Stable Diffusion?
Automatic1111
- It is a popular and full-feature Stable Diffusion GUI. You can use AUTOMATIC1111 on Google Colab, Windows, or Mac. Read the Quick Start Guide to decide which Stable Diffusion to use if you are new to it.
Stable Diffusion
- Stable Diffusion is a deep learning, text-to-image model released in 2022. It is primarily used to generate detailed images conditioned on text descriptions, though it can also be applied to other tasks such as inpainting, outpainting, and generating image-to-image translations guided by a text prompt.
Why extend the functionality of Automatic1111 and Stable Diffusion?
- While Automatic1111 and Stable Diffusion are powerful tools, they may not always meet specific user requirements. Extending the functionality of these tools can help users to tailor them to their unique needs. Users may also need to integrate these tools with other tools to improve their workflow.
Automatic1111 and Stable Diffusion using Extensions
The image generation AI ‘Stable Diffusion’ can generate high-quality character images by devising the sentences (prompts) to be input. However, if you overwork your prompts, you’ll end up generating similar images, and you’ll run into the problem of how difficult it is to create prompts in the first place. Easy to use Stable Diffusion If you use the extensions.
To run the AUTOMATIC 1111 Stable Diffusion webUI with any extension, you need to set up a Stable Diffusion environment. If you are not familiar with setting up the environment on a VM, you can refer to our step-by-step guides for AWS, GCP, and Azure below.
For AWS,
For GCP,
For Azure.
- You can also set up an environment using the Python programming language. Follow this guide for setting up an environment in Python.
Overview of Extensions Settings
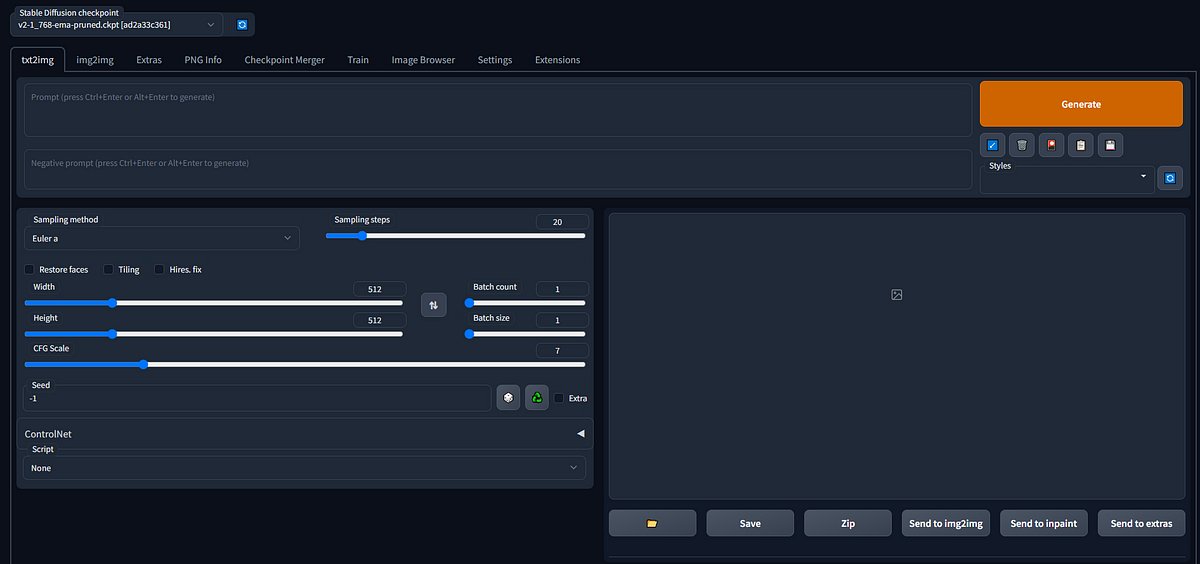
- After installing and starting the AUTOMATIC1111 Stable Diffusion webUI, Click on the Extension Tab.
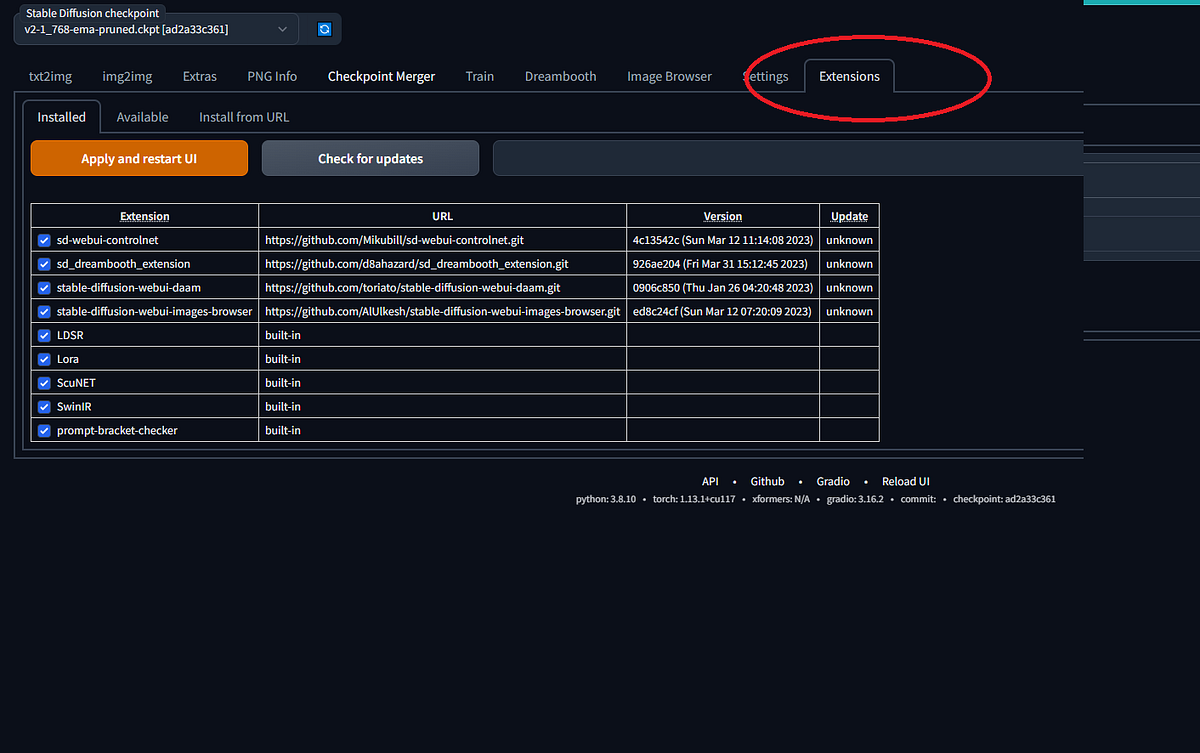
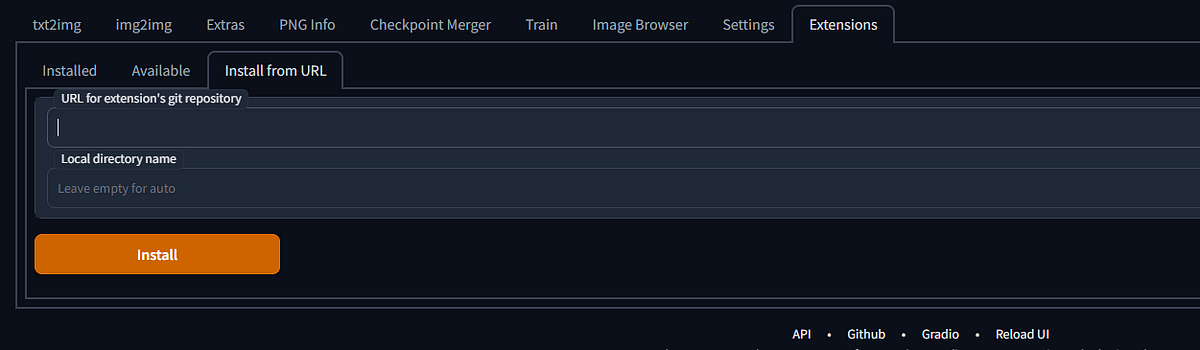
- After Clicking on the Extension Tab, You can see three sub-Tabs, “Installed”, “Available”, and “Installed from the URL”.

- The “Installed” section displays all the extensions already installed, while the “Available” section shows all the extensions currently available in the Automatic1111 WebUI. If you wish to install additional extensions, you can easily do so by using the URL.
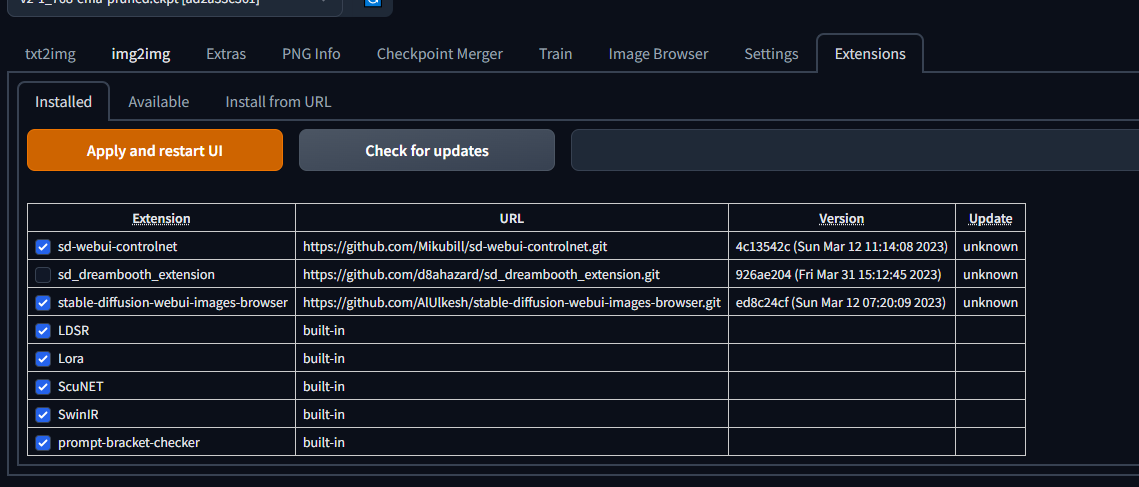
All the Installed Extension
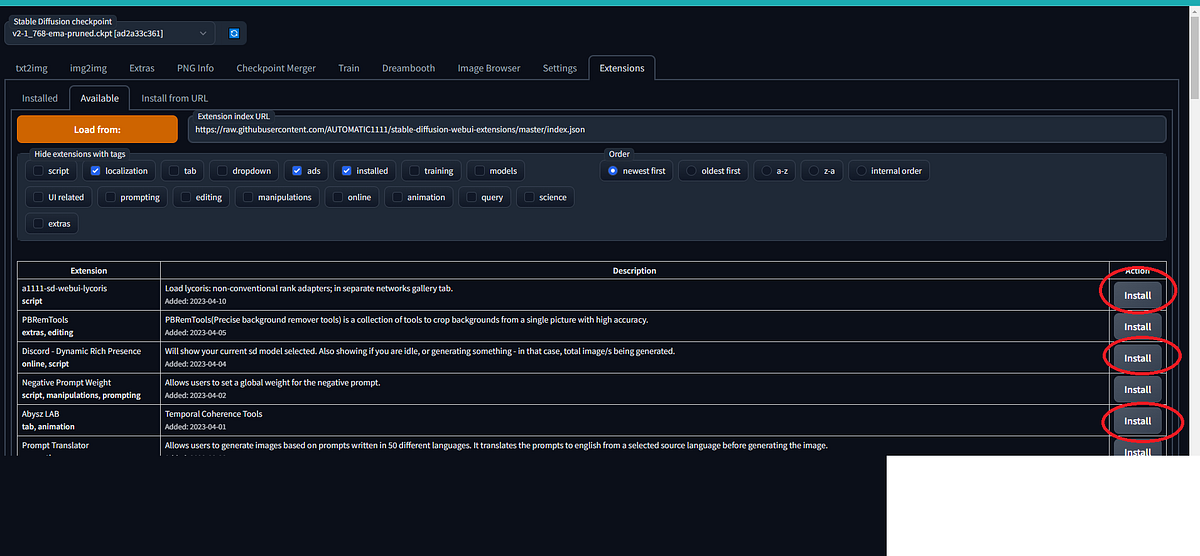
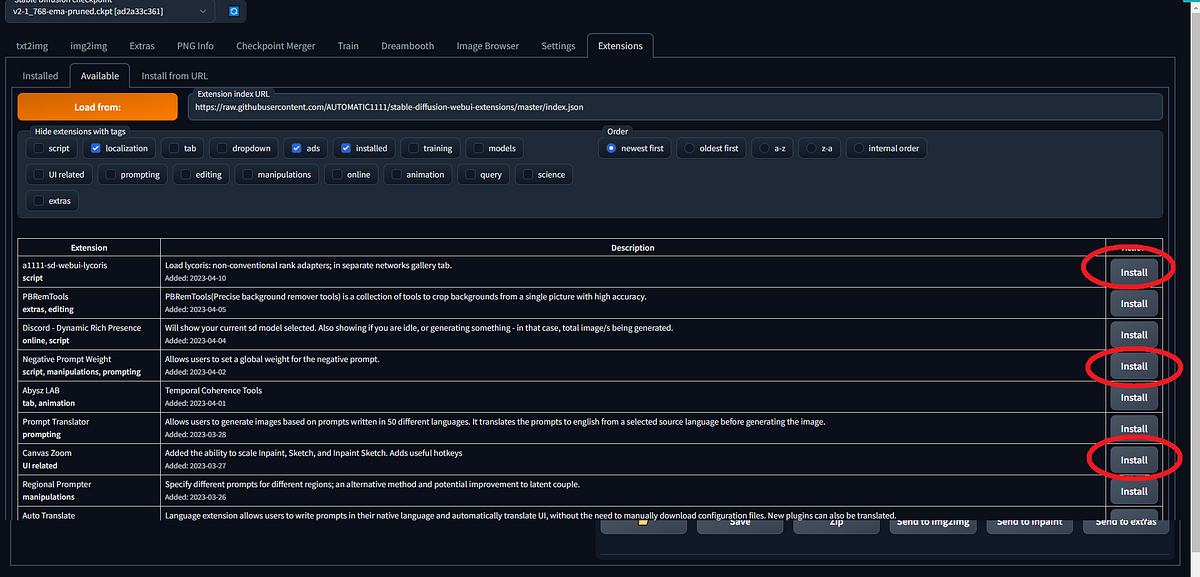
- You can see all the Available Extensions in the Available option, if you want to use and install any extension, click on the Install Button.
- If You want to Install any extension from the URL, Go to the “Install from URL” Tab, then paste the extension URL in the “URL for the extension’s git repository” Text Box. And Then click on “Install”.
Extension Installation Guide - From Official Extension Repository/ From Third Party Extension Repo
- You are now familiar with the extension settings. now I will Walk through the process of installing extensions from both the official extension repository and third-party extension repositories.
From Official Extension Repository
As an example, I have tried using a popular extension called Dreambooth. Let’s get started with it.
You can find all the official extension Repository URLs on Google also.
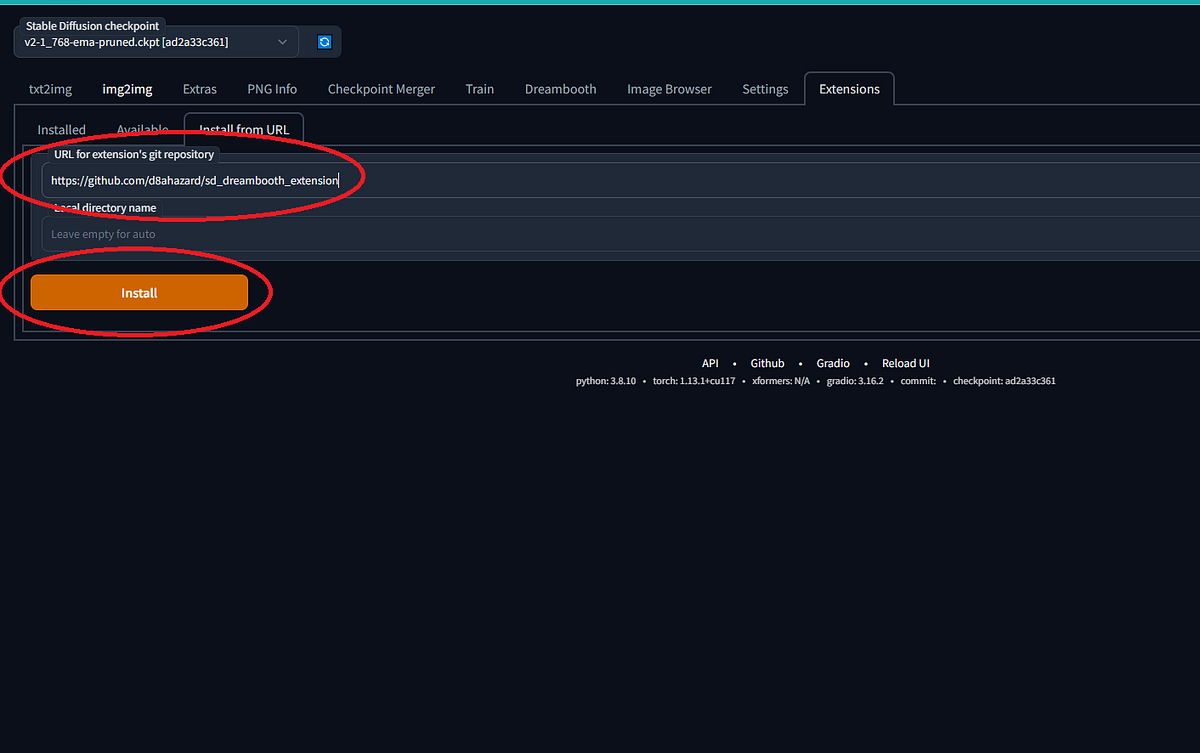
After installing and starting the AUTOMATIC1111 Stable Diffusion webUI, enter ‘https://github.com/d8ahazard/sd_dreambooth_extension' in the URL input field in the ‘Extensions’ menu and click ‘Install’.
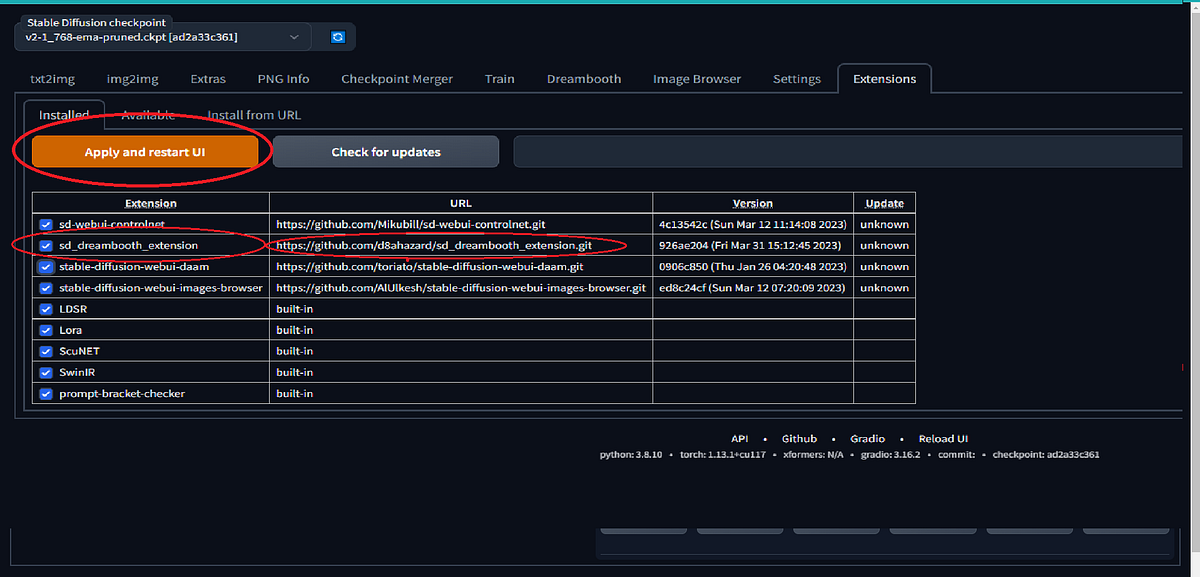
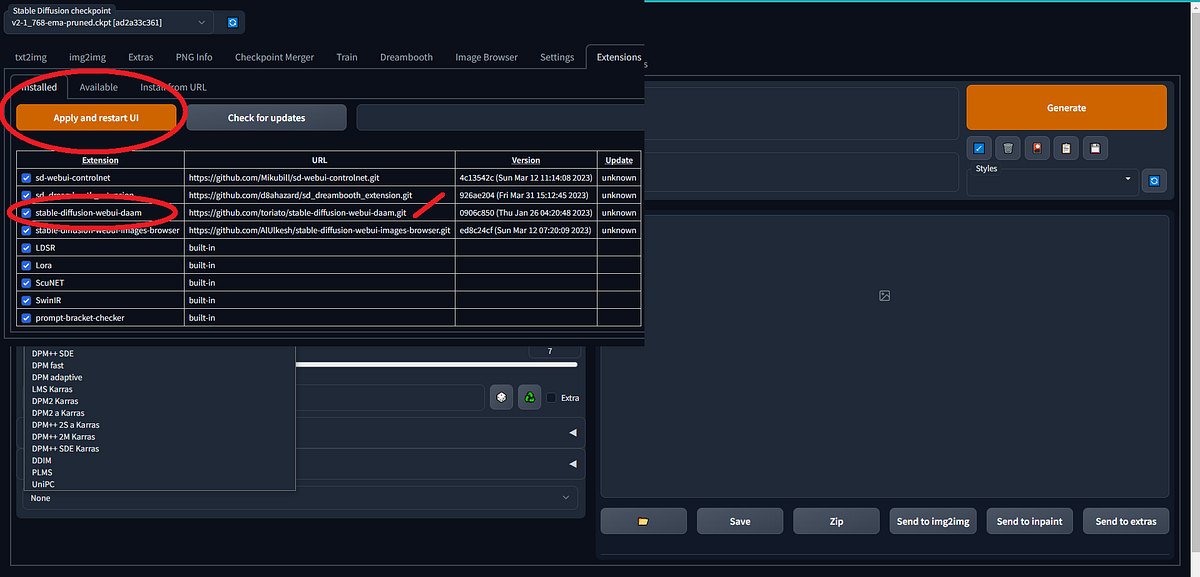
- Next, click ‘Installed’, check that ‘Dreambooth’ is displayed in the list of installed extensions, and then click ‘Apply and restart UI’. This completes the installation of the Dreambooth.
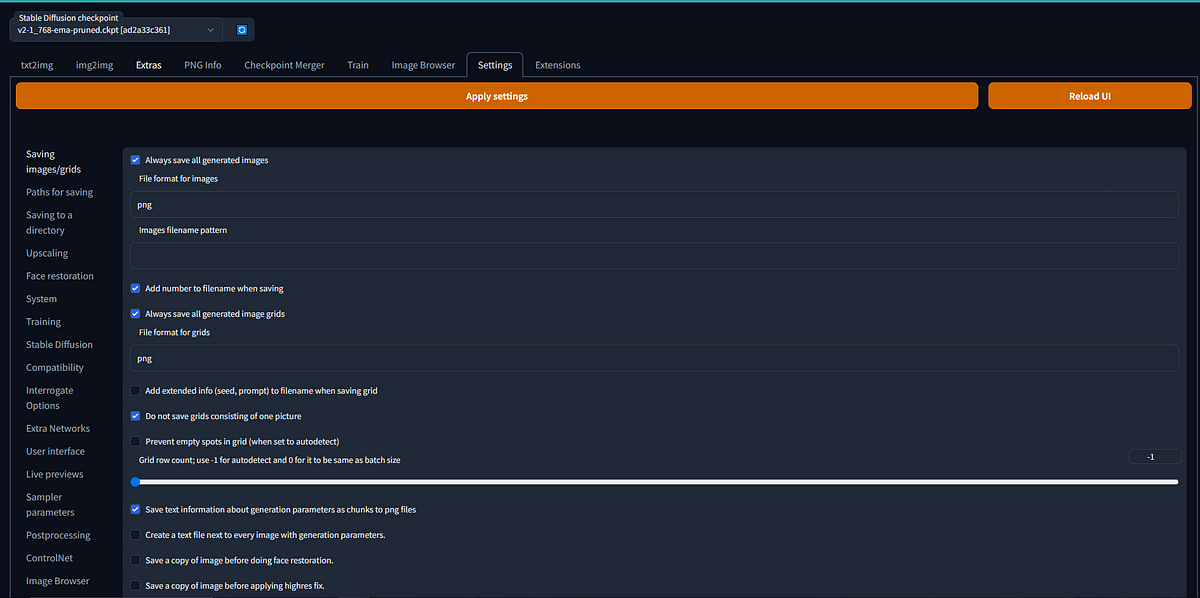
- After installing Dreambooth, apply the recommended settings. First, click on the ‘Settings’ tab and then enable all the settings according to your need.
From Third Party Extension Repo
- If You want to install an extension from the available tab, then simply search for an extension and click on the install button, After Clicking on the install, the extension will start installing, this will a takes few minutes.
- After Installing the Extension, you can find the extension in the installed extension, if You don`t find the extension then click on the Apply and Restart UI button.
Conclusion
In conclusion, extensions can play a vital role in customizing the functionality of Automatic1111 and Stable Diffusion. By extending the capabilities of these tools, users can meet their specific needs and integrate them with other tools seamlessly. In this blog post, we have provided insights into how to extend the functionality of Automatic1111 and Stable Diffusion using extensions, and we hope that this guide will be helpful to users looking to customize and enhance their experience with these powerful tools.